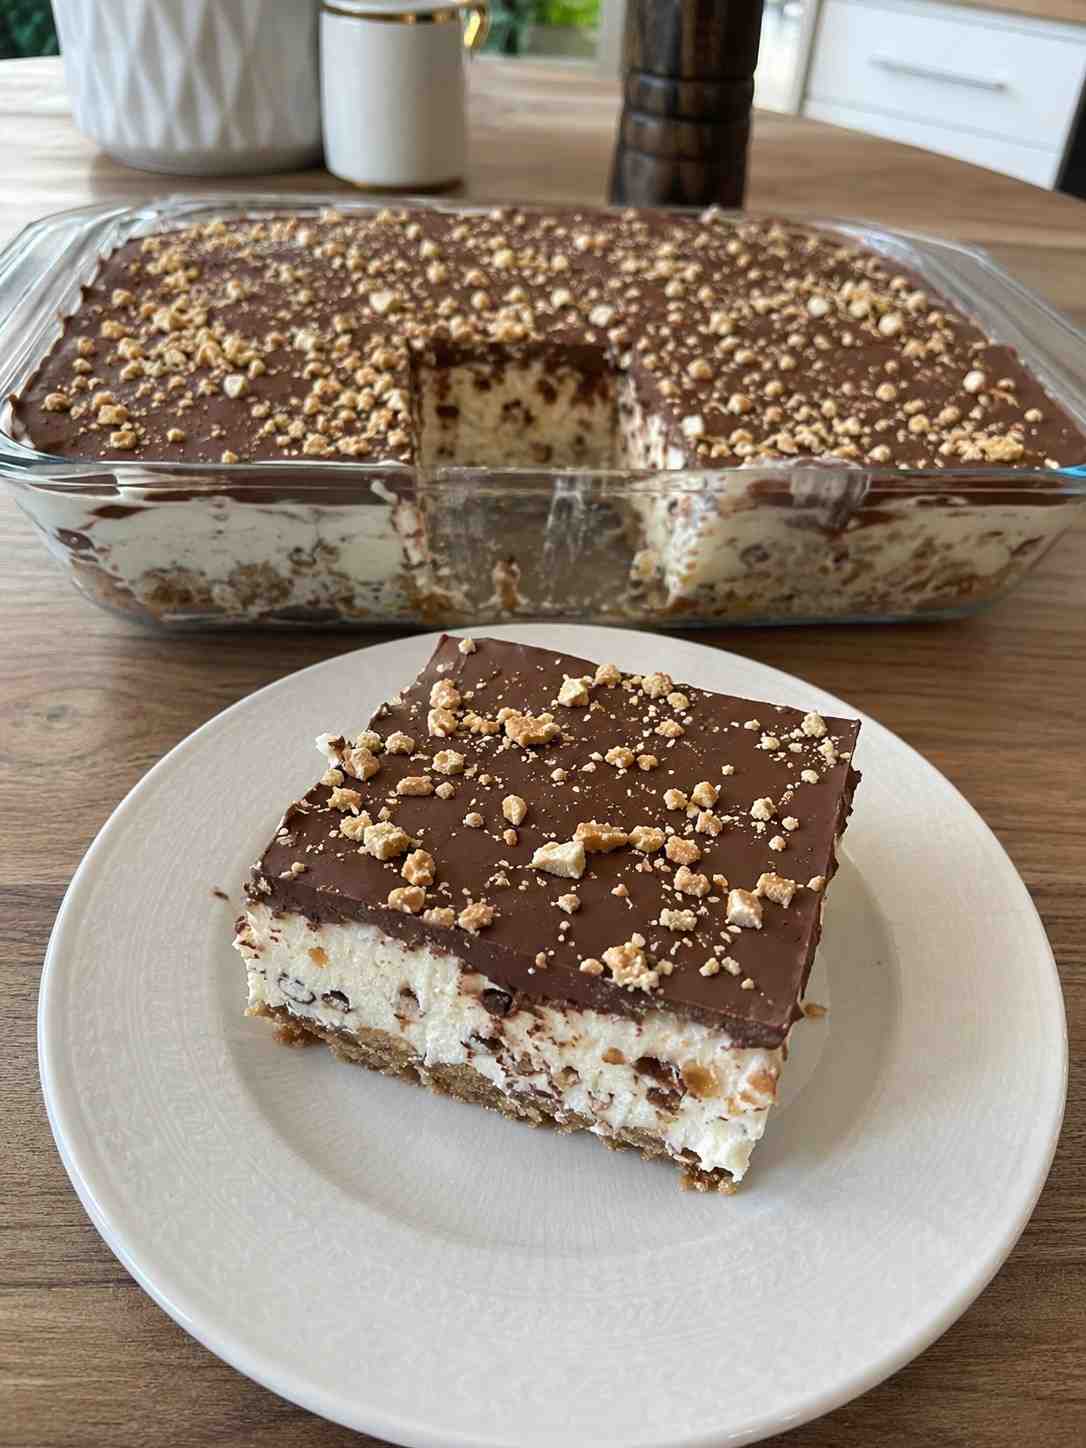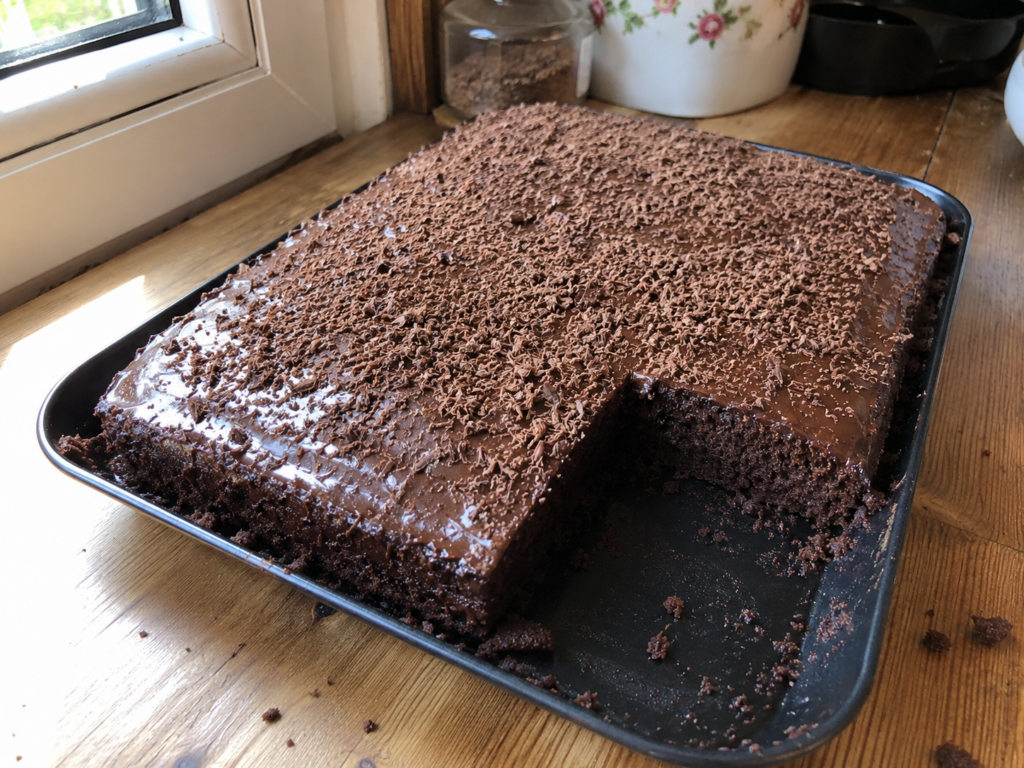
Chocolate Fantasy Cake
A rich, moist, and incredibly satisfying chocolate dessert featuring a soft sponge cake soaked with silky chocolate cream — perfect for birthdays, celebrations, or a serious chocolate craving.
A rich, moist, and incredibly satisfying chocolate dessert featuring a soft sponge cake soaked with silky chocolate cream. Perfect for birthdays, celebrations, family gatherings, or whenever a serious chocolate craving strikes.
Some desserts become family traditions
Some desserts are more than just something sweet to enjoy after dinner — they bring back memories, create new traditions, and instantly make any day feel special. Chocolate Fantasy Cake is one of those recipes.
With its soft chocolate sponge and silky chocolate cream topping, this homemade dessert delivers a rich and comforting flavor that chocolate lovers simply can’t resist. The real magic happens when the warm chocolate cream is poured over the freshly baked sponge, creating an incredibly moist texture while intensifying the chocolate flavor throughout every bite.
Recipe at a glance
| Detail | Time / Servings |
|---|---|
| ⏱️ Prep Time | 15 Min |
| 🔥 Bake Time | 20 Min |
| 🍰 Servings | 8-10 Servings |
| 👨🍳 Difficulty | Easy |
Why you’ll love this recipe
- Rich chocolate flavor in every bite
- Beginner-friendly recipe
- Made with everyday ingredients
- Perfect make-ahead dessert
- Ideal for birthdays and celebrations
- Tastes even better the next day
- Freezer-friendly
- Family favorite dessert
Ingredients you’ll need
For the sponge cake
- 3 large eggs (or 4 small eggs)
- 100 g sugar
- 200 g margarine
- 100 g cooking chocolate
- 4 tbsp all-purpose flour
- 1 packet baking powder
For the chocolate cream
- 500 ml sweet cream
- 200 g cooking chocolate
Ingredient spotlight: chocolate
Chocolate is undoubtedly the star of this recipe. Since it appears in both the sponge cake and the cream topping, its quality plays a major role in the final flavor.
For the best results, choose a dark cooking chocolate containing at least 50% cocoa solids — it provides the perfect balance between sweetness and deep chocolate flavor while also creating a smoother texture.
The full recipe
Here’s everything condensed into one printable card — check off ingredients as you go, and follow the numbered steps in order.
Chocolate Fantasy Cake
Yield: 8-10 servings · Prep 15 min · Bake 20 min · Chill 4 hrs+
Sponge cake
Chocolate cream
Method
- Whisk the eggs and sugar. Beat until pale, fluffy, and nearly doubled in volume.
- Add the melted chocolate mixture. Melt margarine and chocolate, cool slightly, then fold in.
- Add the dry ingredients. Fold in flour and baking powder until no dry pockets remain.
- Prepare the baking pan. Pour batter into a lined pan and spread evenly.
- Bake the sponge cake. Bake at 180°C (350°F) for about 20 minutes until a toothpick comes out clean.
- Prepare the chocolate cream. Warm the cream, then stir in chocolate until smooth and glossy.
- Soak the sponge cake. Pierce the warm sponge and pour the warm cream over it.
- Chill and set. Cool completely, then refrigerate at least 4 hours, preferably overnight.
- Decorate and serve. Top with grated chocolate, nuts, or whipped cream, then slice chilled.
Step-by-step instructions
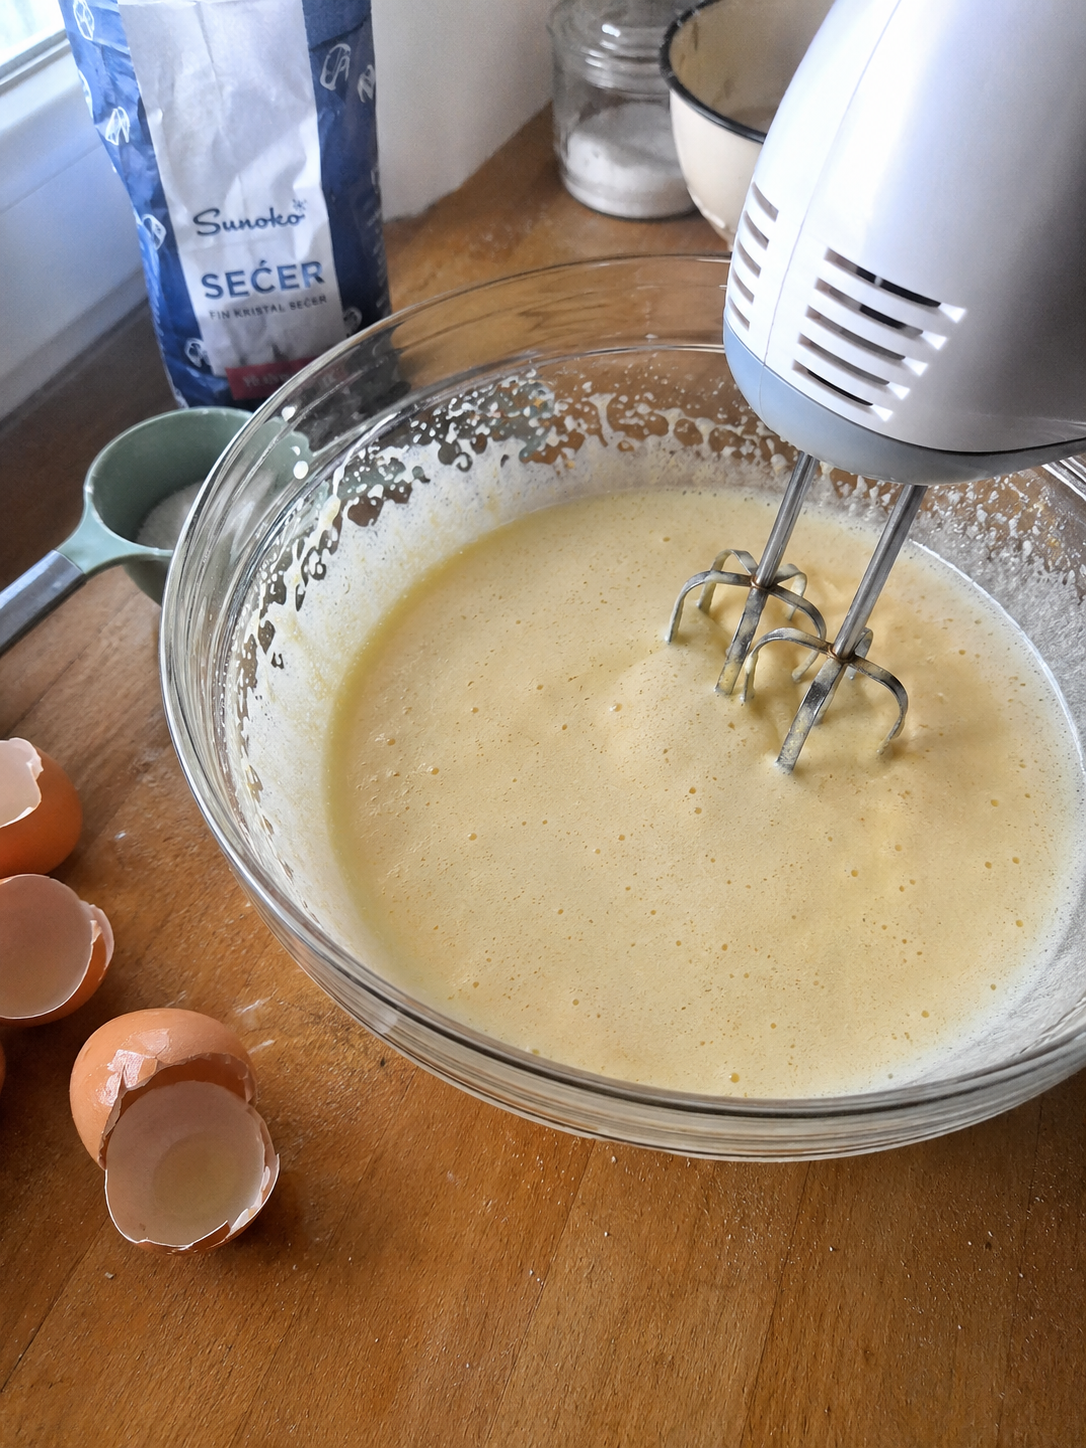
Step 1: Whisk the eggs and sugar
Place the eggs and sugar in a large mixing bowl. Using an electric mixer, beat them together for several minutes until the mixture becomes pale, fluffy, and almost doubles in volume.
Incorporating air at this stage helps create the soft and airy texture that makes the sponge cake so enjoyable.
Step 2: Add the melted chocolate mixture
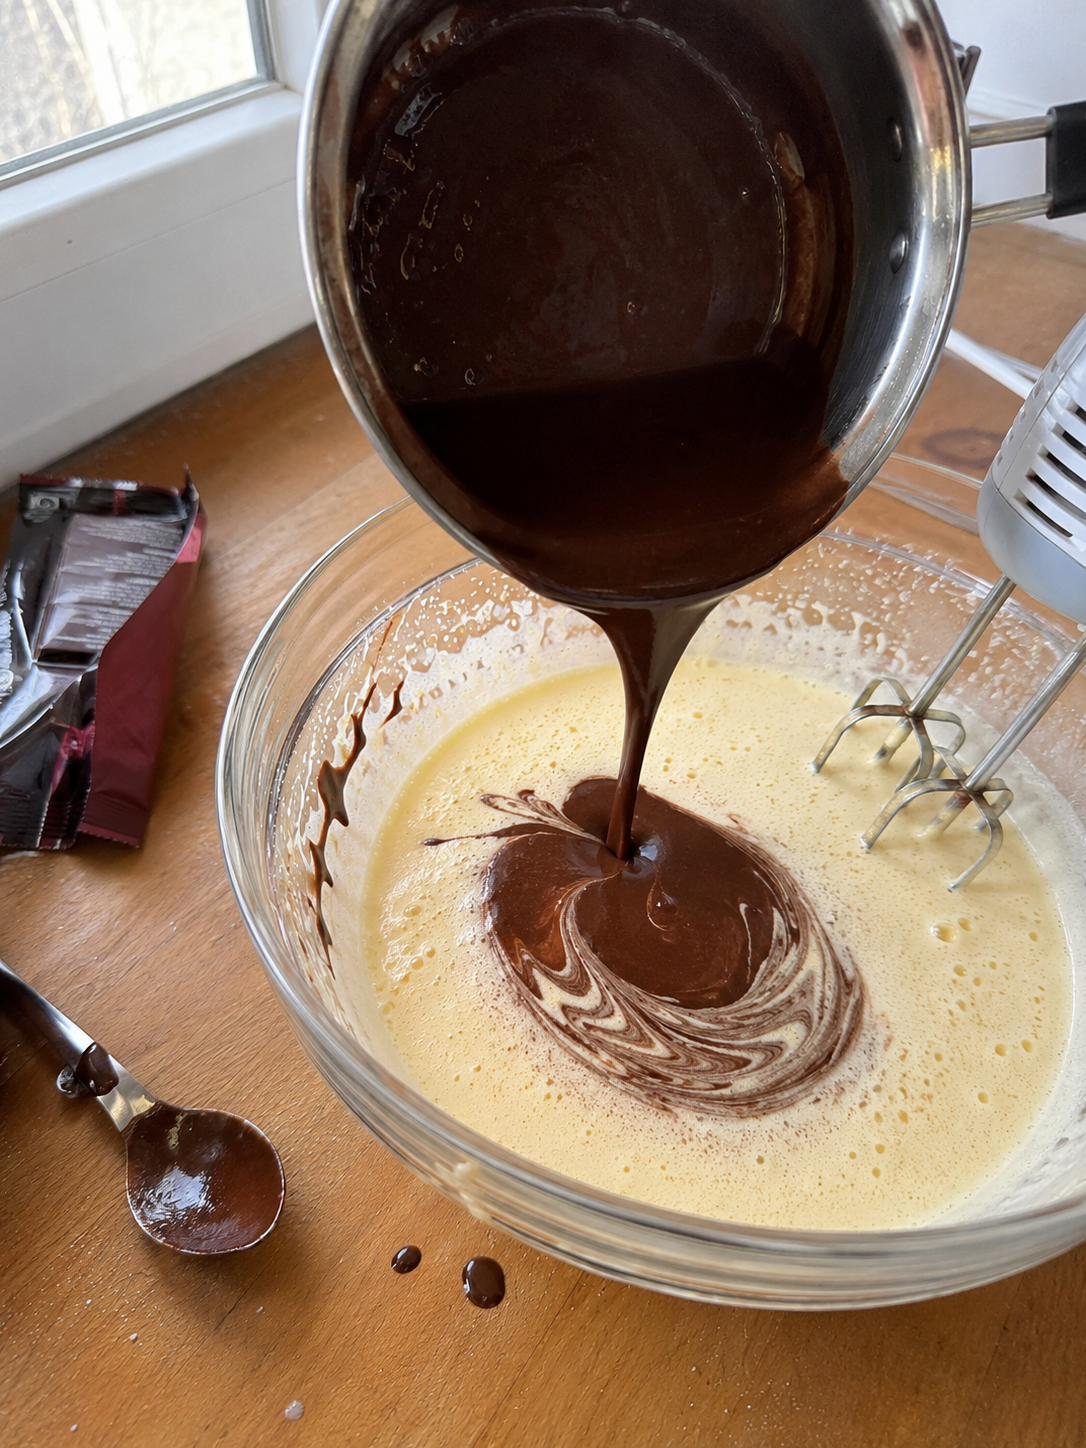
Melt the margarine and cooking chocolate together until smooth and glossy. Allow the mixture to cool slightly before slowly pouring it into the whipped egg mixture.
Mix gently until everything is fully incorporated and the batter becomes smooth, silky, and evenly chocolate-colored.
Step 3: Add the dry ingredients
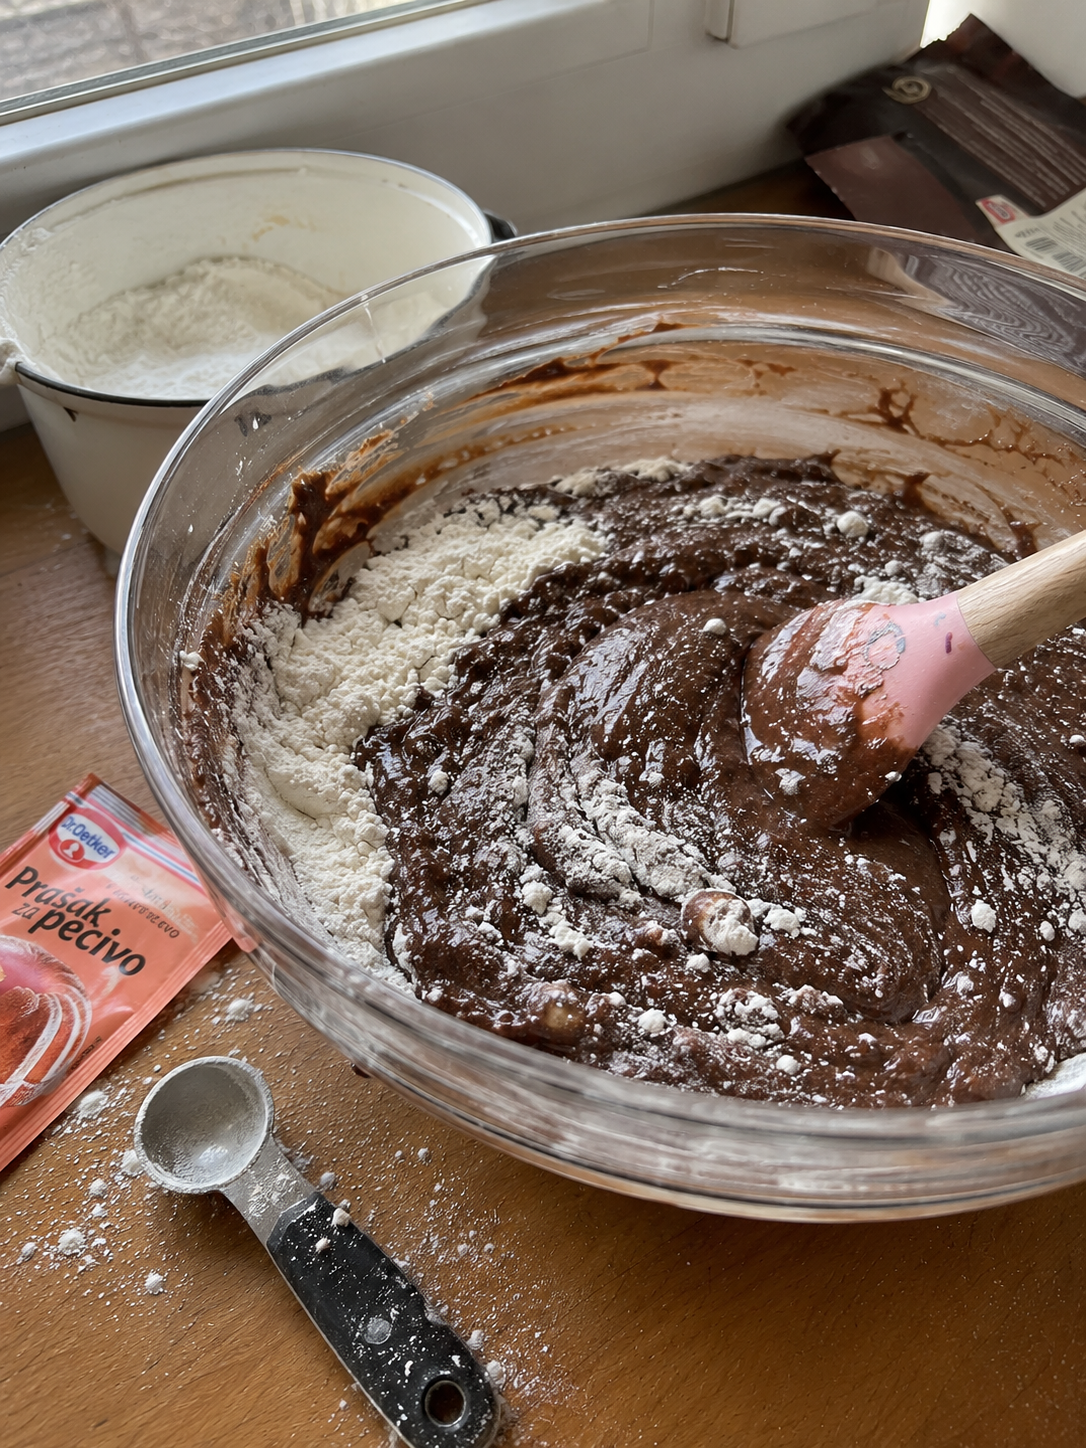
In a separate bowl, combine the flour and baking powder. Gradually fold the dry ingredients into the chocolate mixture until no dry pockets remain.
Avoid overmixing at this stage — gentle folding helps maintain a softer sponge texture while preventing the cake from becoming dense.
Step 4: Prepare the baking pan
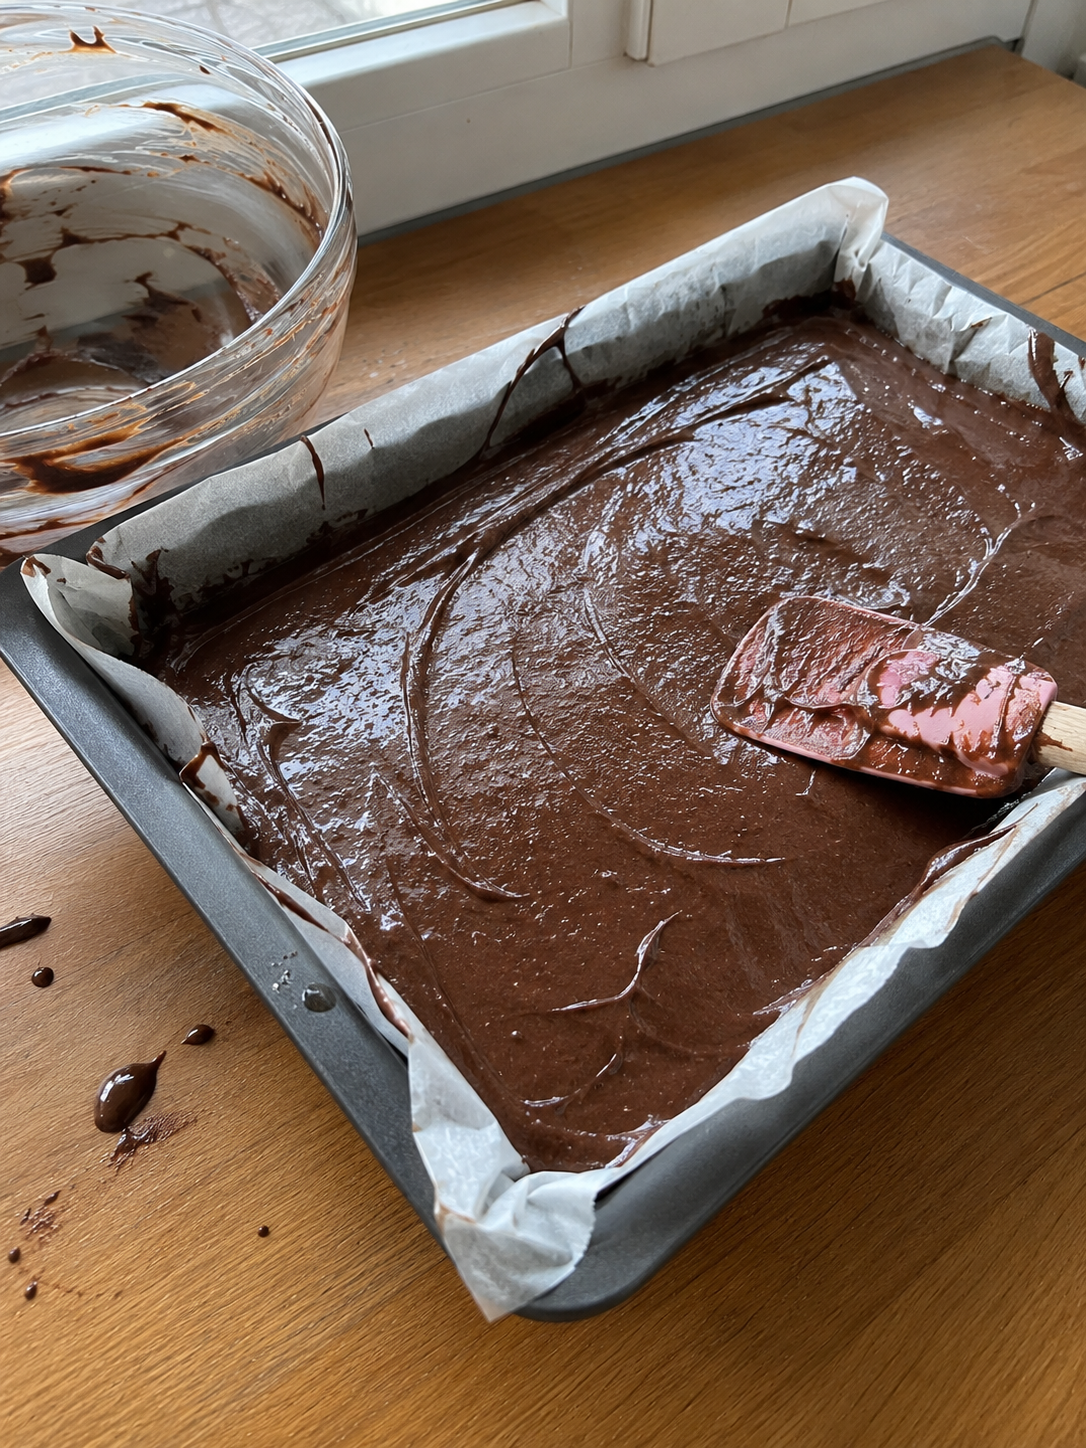
Line a baking pan with parchment paper and pour the batter inside. Use a spatula to spread the mixture evenly across the pan for consistent baking.
Step 5: Bake the sponge cake
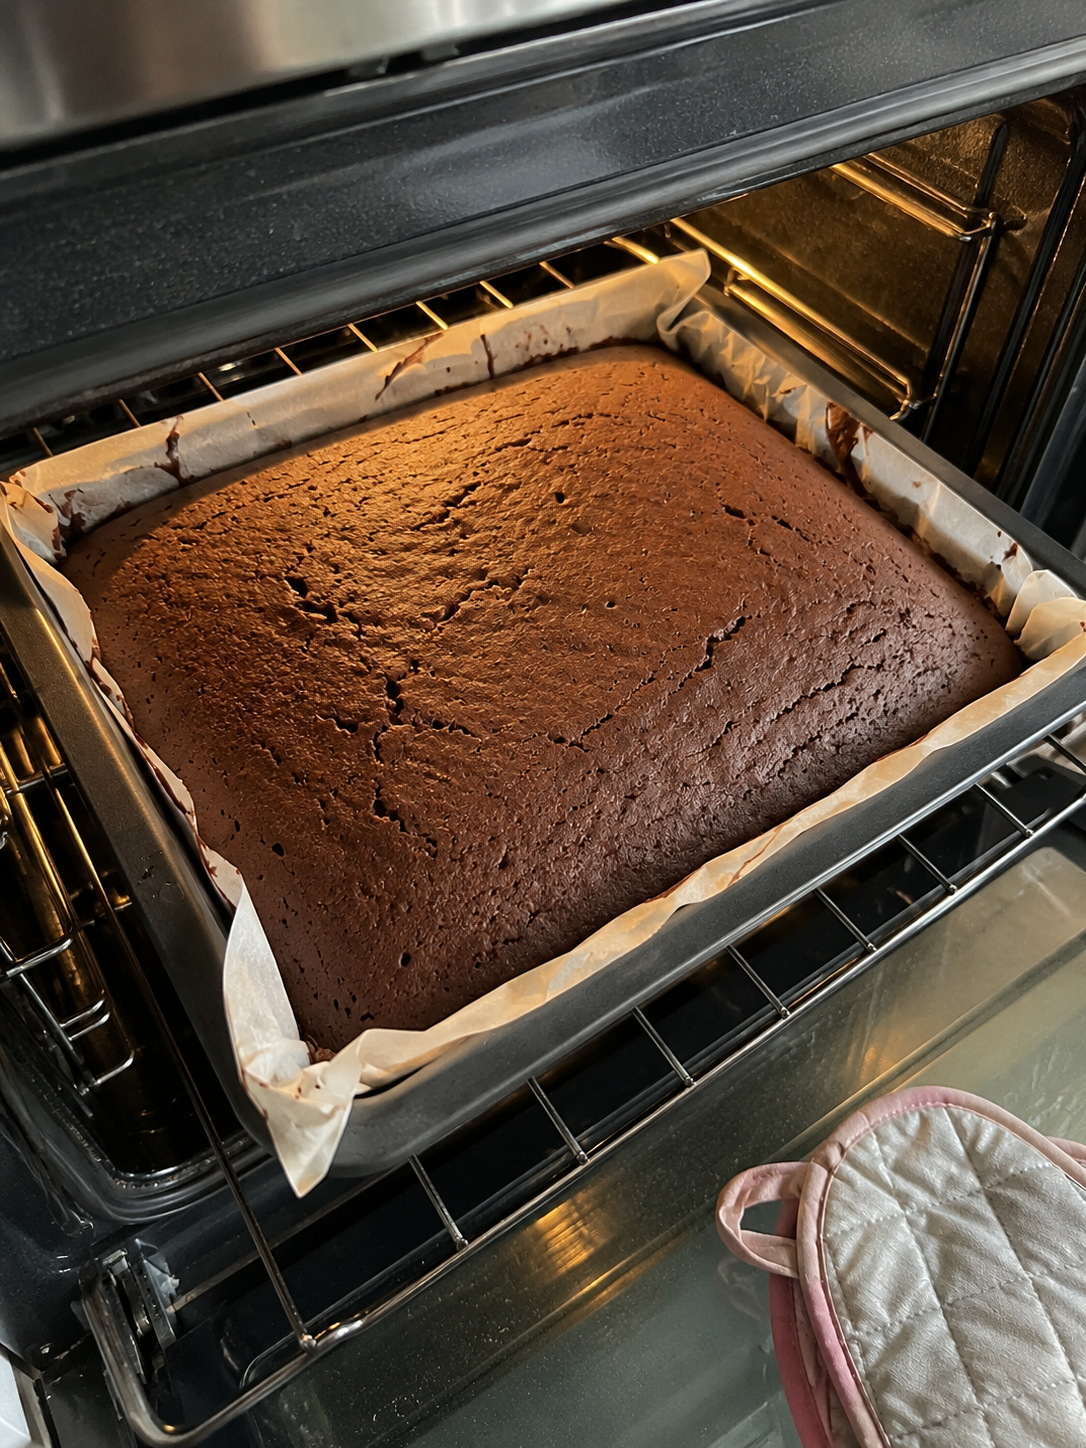
Place the pan in a preheated oven at 180°C (350°F) and bake for approximately 20 minutes. Begin checking a few minutes early, as oven temperatures can vary — insert a toothpick into the center, and if it comes out clean, the sponge is ready.
Step 6: Prepare the chocolate cream
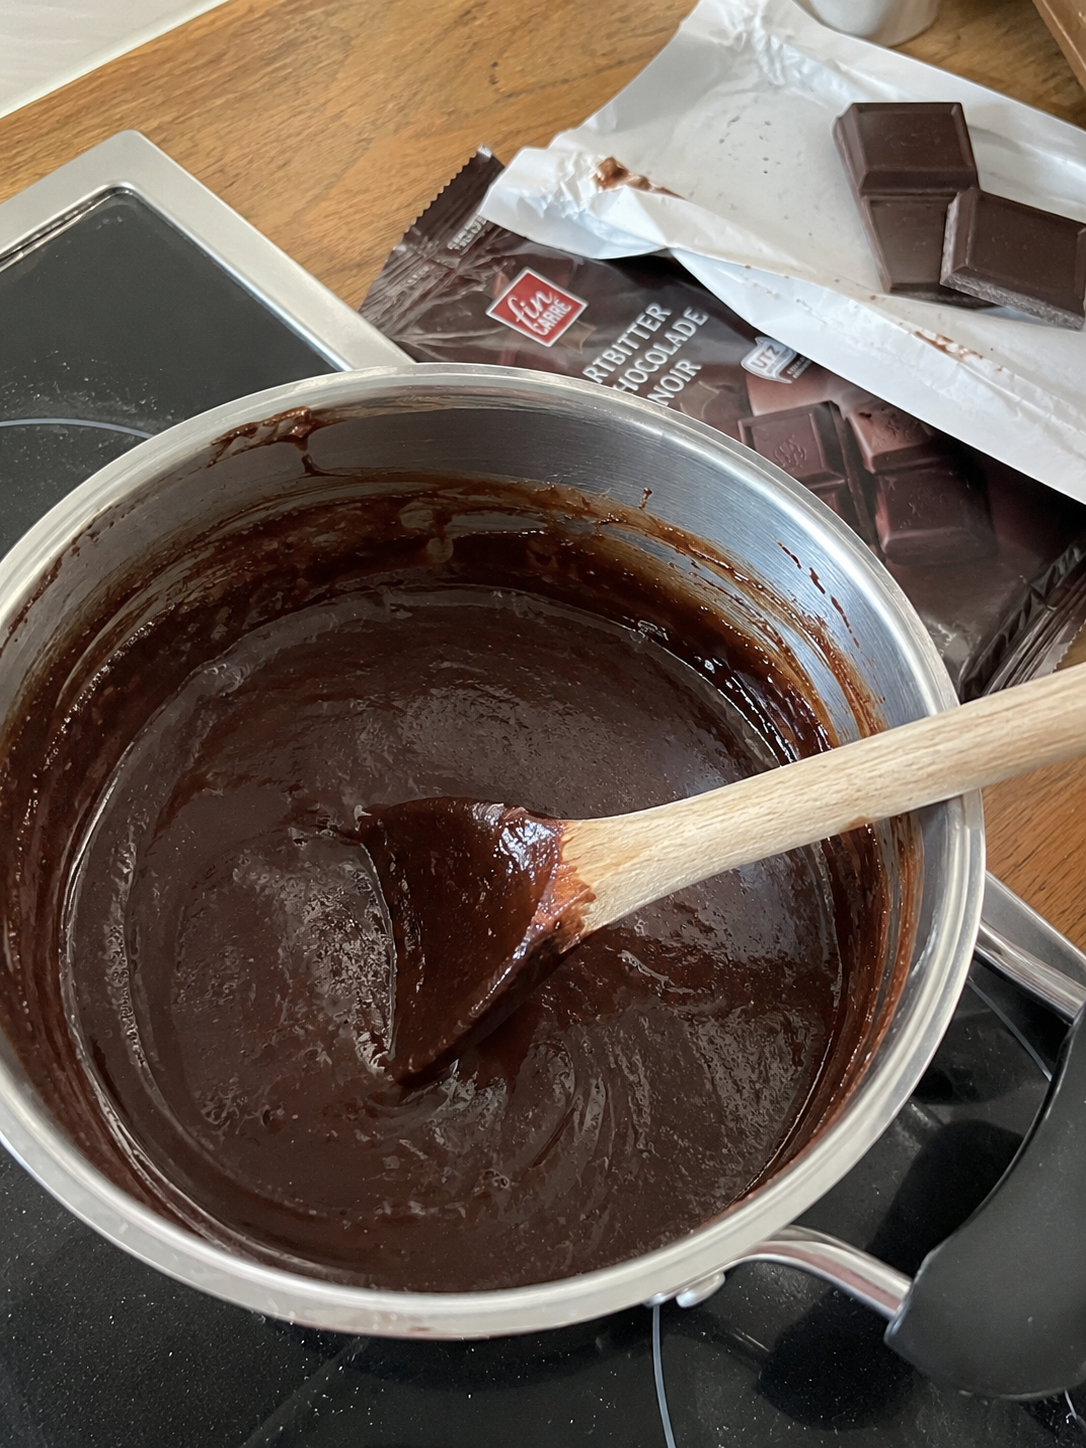
Pour the sweet cream into a saucepan and heat it over medium heat. Once warm, add the cooking chocolate and stir continuously until completely melted.
The mixture should become smooth, glossy, and free of lumps. Avoid boiling the cream aggressively, as excessive heat can affect the final texture.
Step 7: Soak the sponge cake
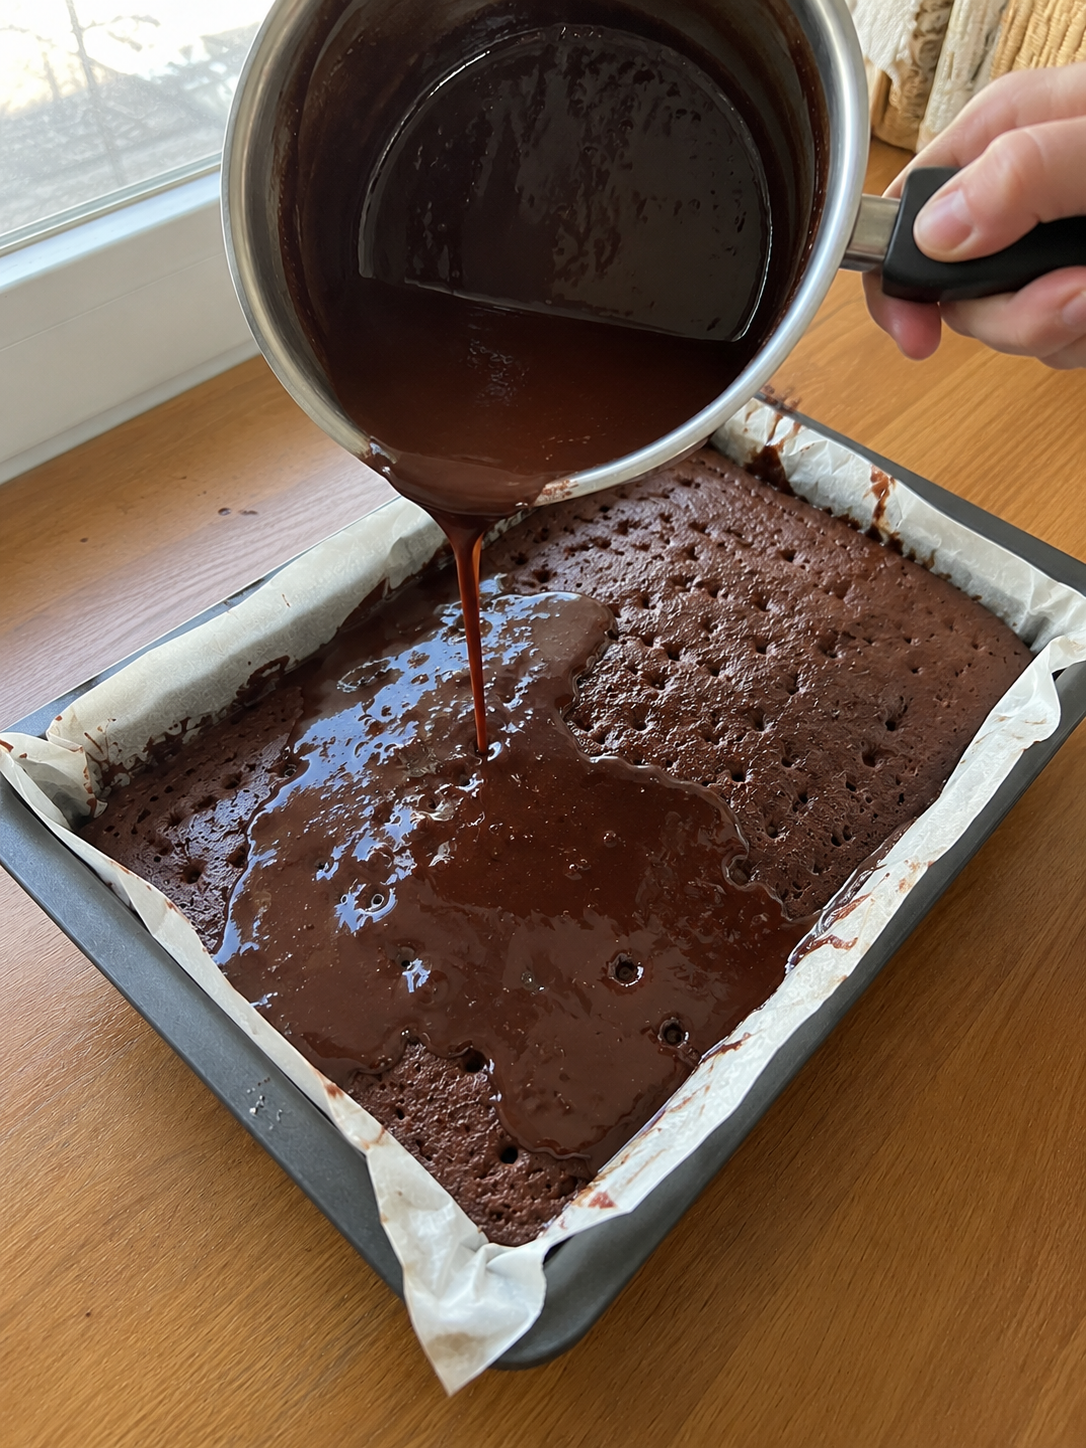
While the sponge cake is still warm, use a toothpick or skewer to create small holes across the entire surface. Slowly pour the warm chocolate cream over the cake, allowing it to seep in.
Don’t worry if the cream appears thin at first — during chilling, it will gradually thicken and create a silky finish.
Step 8: Chill and set
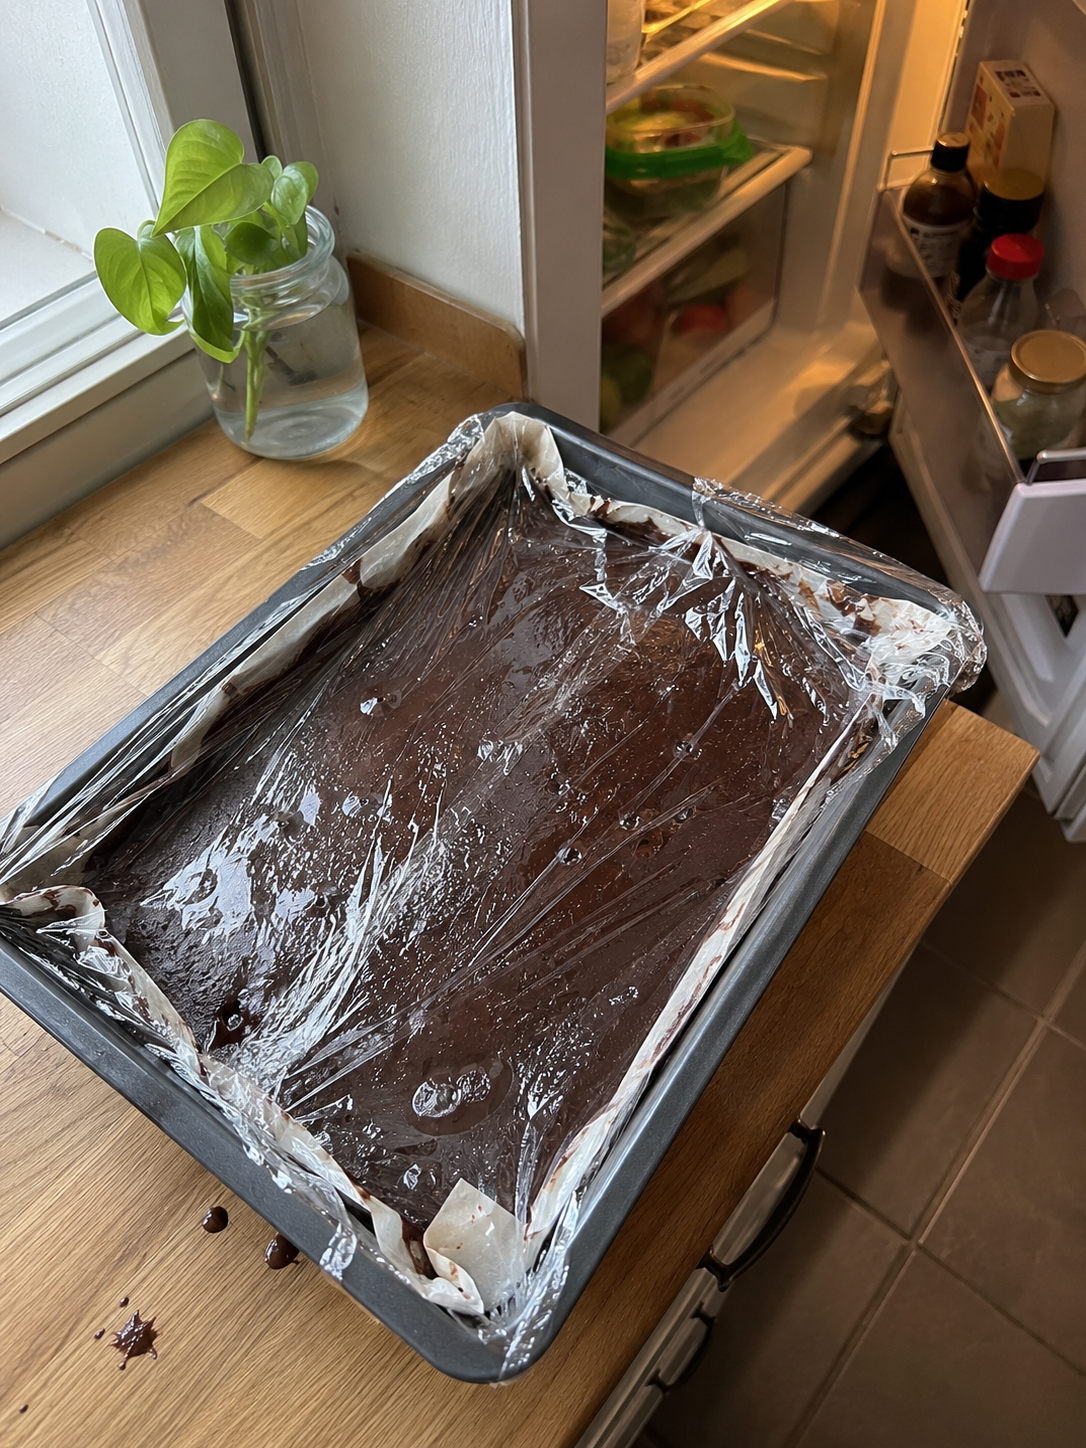
Allow the cake to cool completely at room temperature before transferring it to the refrigerator. For best results, chill for at least 4 hours; overnight chilling delivers an even better texture and deeper chocolate flavor.
Step 9: Decorate and serve
Once the cream has fully set, decorate the cake however you like. Popular options include grated chocolate, whipped cream, chopped hazelnuts, walnuts, chocolate curls, or colorful sprinkles.
Slice and serve chilled for the ultimate chocolate experience.

Common mistakes to avoid
Overmixing the batter
Excessive mixing can remove the air incorporated during whisking and result in a denser sponge cake.
Using cold ingredients
Room-temperature ingredients combine more evenly and help create a smoother batter.
Skipping the chilling time
Although it may be tempting to serve immediately, proper chilling dramatically improves texture and flavor.
Overbaking
A dry sponge won’t absorb the chocolate cream properly, so monitor the baking time carefully.
Using low-quality chocolate
Since chocolate is the dominant flavor, ingredient quality makes a noticeable difference in the final result.
What makes this cake so moist?
Unlike many traditional chocolate cakes, this recipe relies on a unique soaking method: small holes are created across the sponge and covered with warm chocolate cream, which gradually penetrates every layer. As the dessert chills, the cream thickens while the sponge becomes softer and richer — resulting in a cake that almost melts in your mouth.
Serving suggestions
Although this cake is delicious on its own, several pairings can elevate the experience even further.
- ☕ Coffee — a perfect pairing
- 🍓 Strawberries — a fresh contrast
- 🍦 Ice cream — extra indulgence
- 🥛 Cold milk — a classic choice
Crushed hazelnuts, chocolate shavings, or whipped cream can also add additional texture and visual appeal.
Storage and freezing guidelines
For best results, store the cake covered in an airtight container inside the refrigerator to preserve both moisture and flavor.
| Storage Type | Duration / Status |
|---|---|
| ❄️ Refrigerator | 4 Days |
| 🧊 Freezer Friendly | 2 Months |
| 🍰 Served | Best Chilled |
| ✅ Make-Ahead | Yes |
If freezing, wrap individual slices tightly and thaw overnight in the refrigerator before serving.
Nutrition information (per slice)
| Nutrient | Value |
|---|---|
| 🔥 Calories | 320 |
| 🍞 Carbs | 28g |
| 🥚 Protein | 5g |
| 🧈 Fat | 21g |
| 🍬 Sugar | 18g |
| 🧂 Sodium | 0.3g |
This dessert is vegetarian, family friendly, make-ahead friendly, and freezer friendly, but it is not suitable for gluten-free or dairy-free diets as written.
Frequently asked questions
Can I use butter instead of margarine?
Yes. Unsalted butter can be used as a direct replacement and often provides a richer flavor.
Can I make this cake a day in advance?
Absolutely. In fact, many people prefer it the next day because the chocolate cream has more time to soak into the sponge.
What chocolate works best?
Dark cooking chocolate with 50-70% cocoa content generally delivers the best flavor and texture.
Why is the cream runny when poured?
This is completely normal. During chilling, the cream naturally thickens and develops its final silky consistency.
Can I add nuts?
Yes. Chopped hazelnuts, walnuts, pecans, or almonds all work beautifully in this recipe.
Can I freeze the cake?
Certainly. Individual slices can be frozen for up to two months without a major loss of texture.