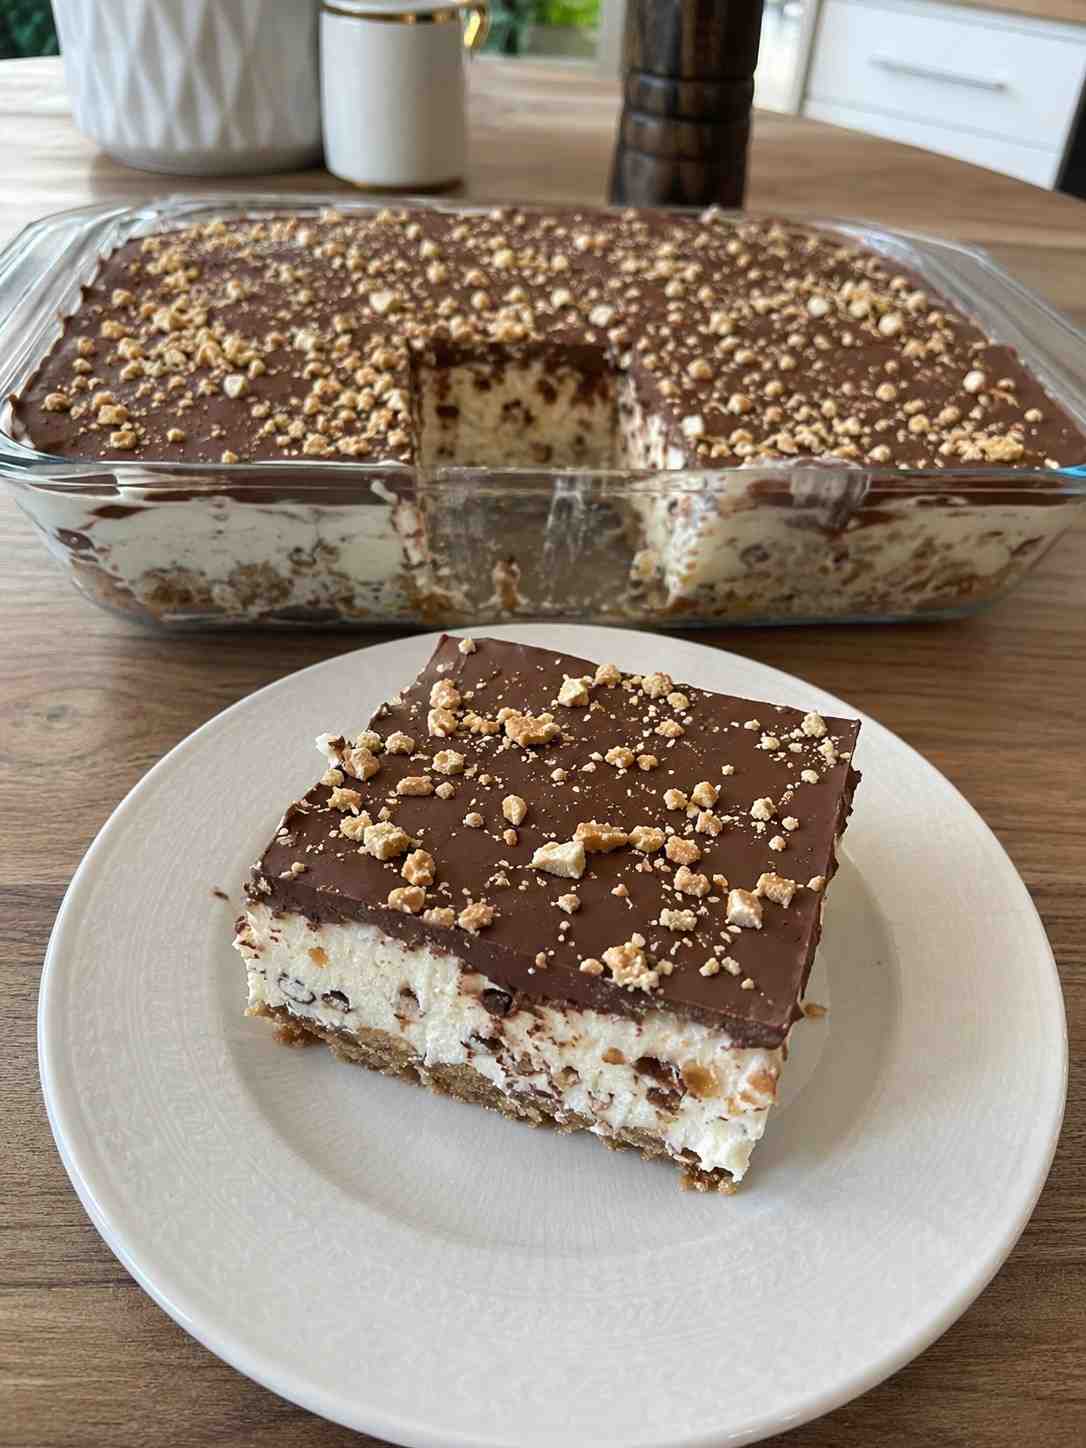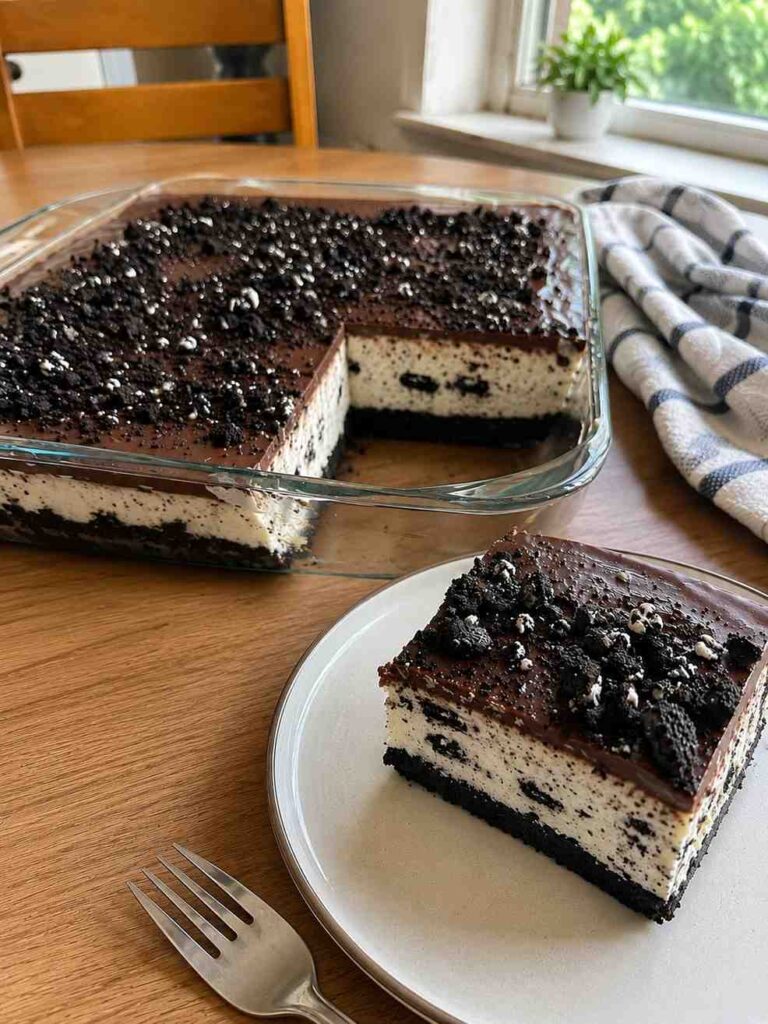
Oreo Fantasy Cake
A buttery Oreo crust, a silky cookies-and-cream filling, and a glossy chocolate ganache — the ultimate no-bake dessert that gets cleaner and richer the longer it chills.
If you’re looking for the ultimate cookies and cream dessert, this Oreo Fantasy Cake is exactly what you need. Featuring layers of crushed Oreo cookies, silky cream filling, and rich chocolate flavor, this easy no-bake cake is guaranteed to impress family and friends.
Some desserts disappear from the table within minutes, and this Oreo Fantasy Cake is one of them. The combination of crunchy Oreo cookies, smooth cream filling, and chocolate creates an irresistible texture that appeals to both kids and adults — and because it requires no complicated baking skills, it’s perfect for beginners.
Why you’ll love this Oreo Fantasy Cake
Unlike many no-bake desserts that rely heavily on sugar, this cake balances sweetness with rich cream cheese and chocolate. The contrast between crunchy cookie crumbs and silky cream creates an enjoyable texture in every bite, and because the cake is chilled rather than baked, the flavors stay fresh and creamy.
Before you start
For the best results, allow the cream cheese and whipping cream to reach a cool room temperature before mixing. Using high-quality Oreo cookies and real whipping cream will significantly improve the flavor and texture of the finished cake.
Most importantly, leave enough time for chilling — the cake becomes noticeably better after several hours in the refrigerator.
Recipe at a glance
| Detail | Time / Servings |
|---|---|
| ⏱️ Prep Time | 25 Min |
| ❄️ Chilling Time | 6 Hours |
| 🍽️ Servings | 12 Servings |
| 👨🍳 Difficulty | Easy |
Ingredients you’ll need
For the Oreo base
- 300 g Oreo cookies
- 100 g melted butter
For the cream filling
- 500 g cream cheese
- 500 ml heavy whipping cream
- 120 g powdered sugar
- 1 tsp vanilla extract
- 200 g crushed Oreo cookies
For the topping
- 150 g chocolate
- 100 ml heavy cream
- Extra Oreo cookies for decoration
Important ingredient notes
The Oreo cookies: They provide both texture and flavor, so avoid reducing the amount significantly.
The cream cheese: It creates the rich, stable filling that holds everything together after chilling — use full-fat for the richest flavor.
The chocolate topping: It adds an additional layer of richness and balances the sweetness of the filling.
The full recipe
Here’s everything condensed into one printable card — check off ingredients as you go, and follow the numbered steps in order.
Oreo Fantasy Cake
Yield: 12 servings · Prep 25 min · No bake · Chill 6 hrs+
Oreo base
Cream filling
Topping
Method
- Crush the Oreo cookies. Pulse in a food processor until fine crumbs form; set aside a small portion for decoration.
- Prepare the Oreo base. Combine crumbs with melted butter and press into a baking dish or springform pan; chill.
- Prepare the cream filling. Beat cream cheese until smooth, then mix in powdered sugar and vanilla.
- Whip the cream. Whip heavy cream to stiff peaks in a separate bowl.
- Fold everything together. Fold whipped cream into the cream cheese mixture, then fold in crushed Oreo cookies.
- Assemble the cake. Spread the filling evenly over the chilled crust.
- Prepare the chocolate topping. Pour hot cream over chopped chocolate, stir into a glossy ganache, and spread over the filling.
- Chill and decorate. Refrigerate at least 6 hours, then decorate with Oreo crumbs, chocolate curls, or whipped cream.
Step-by-step instructions
Step 1: Crush the Oreo cookies
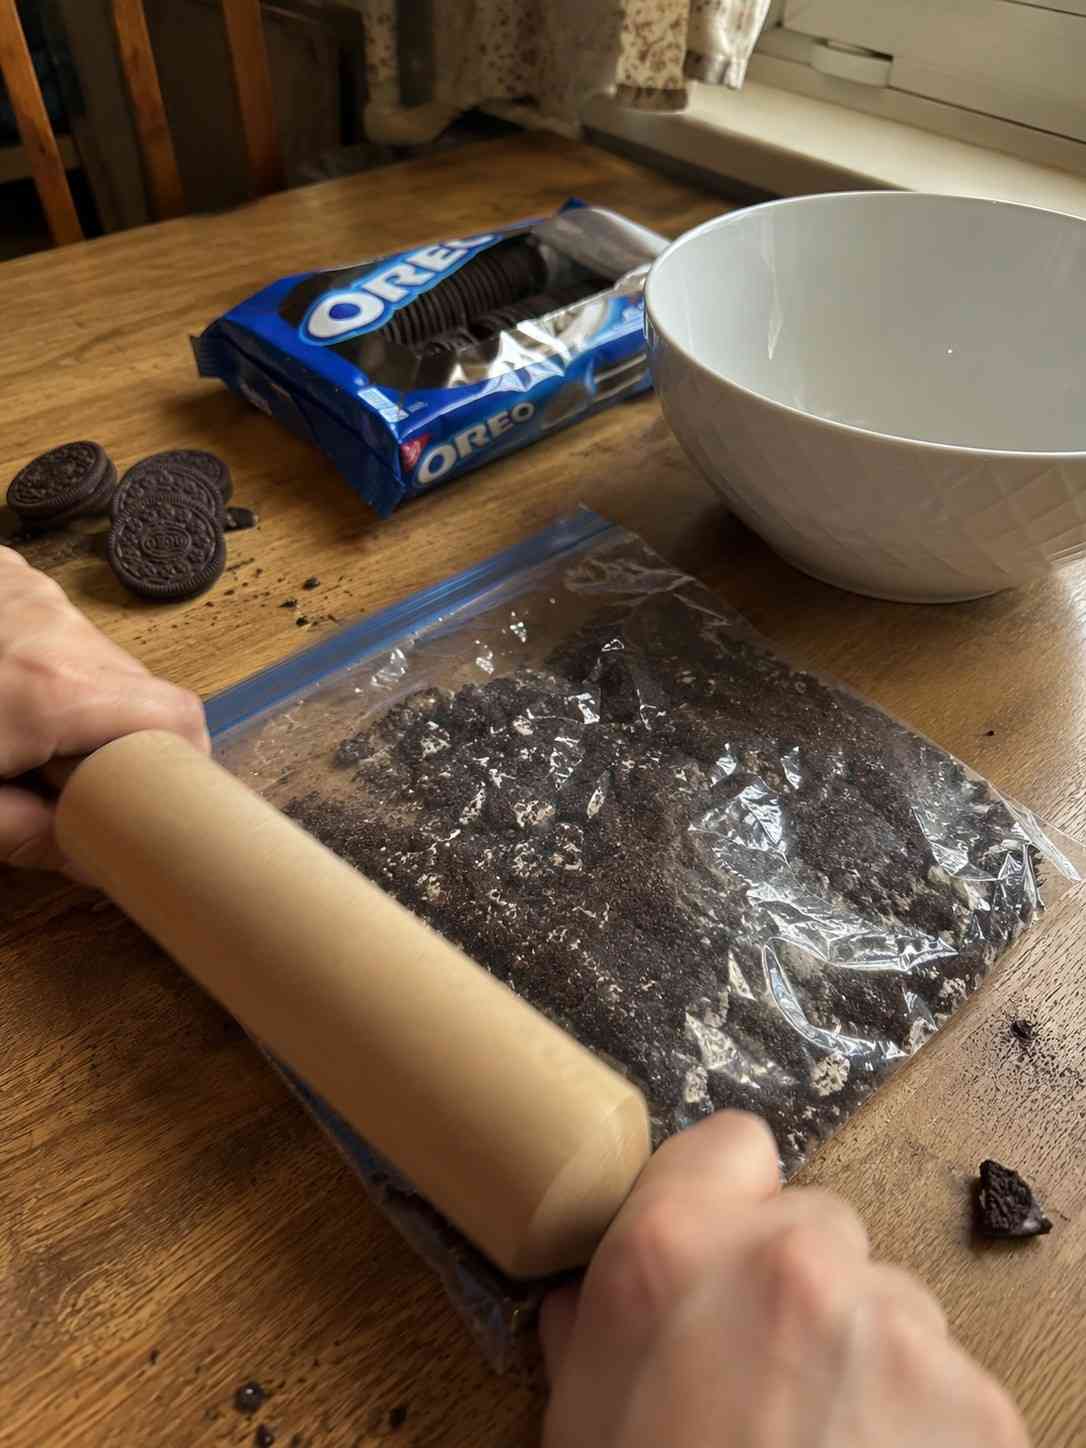
Place the Oreo cookies into a food processor and pulse until fine crumbs form. No food processor? Crush them in a zip-top bag with a rolling pin.
Set aside a small portion of crumbs for decoration later.
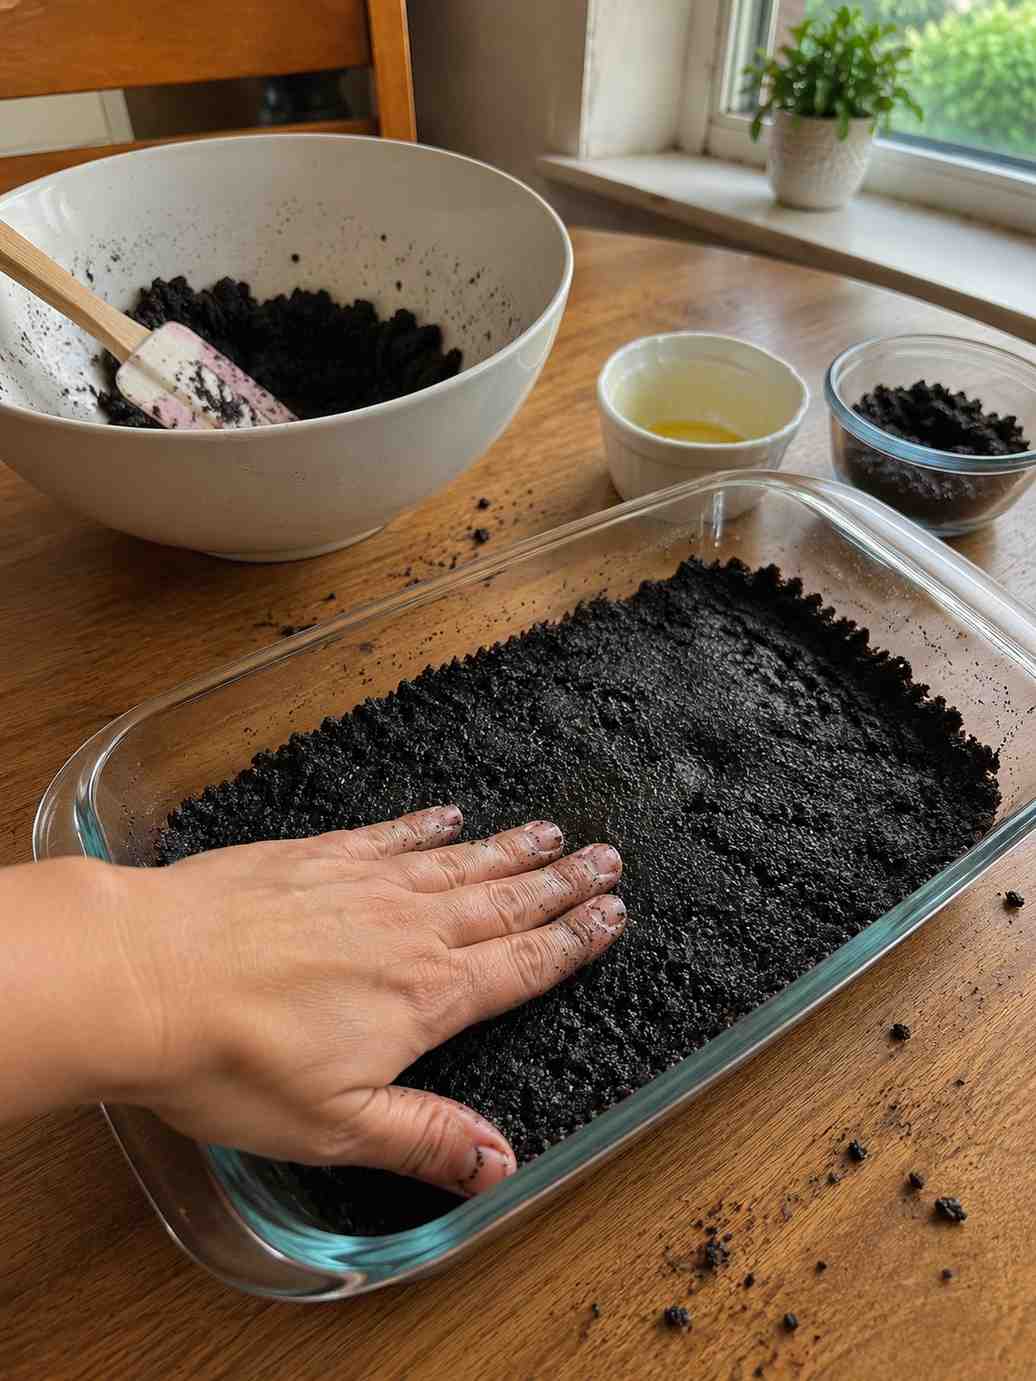
Step 2: Prepare the Oreo base
Combine the crushed Oreo cookies with melted butter until the mixture resembles wet sand, then press firmly into the bottom of a baking dish or springform pan.
Place the base in the refrigerator while preparing the filling; it will firm up and become easier to work with.
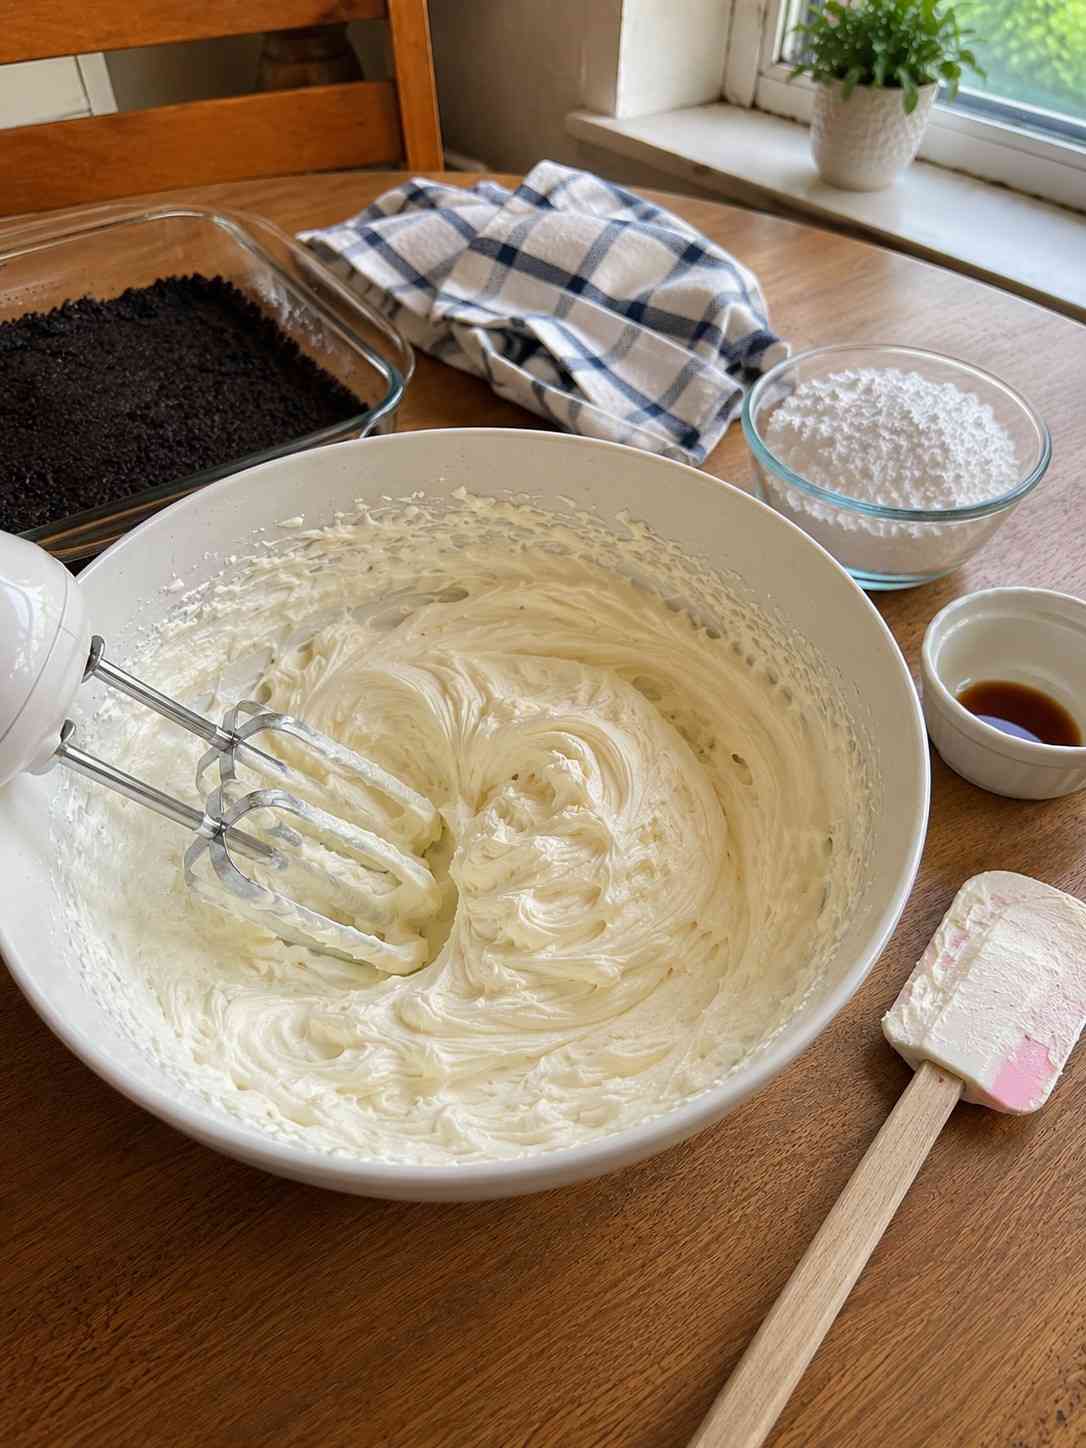
Step 3: Prepare the cream filling
In a large mixing bowl, beat the cream cheese until smooth, then add powdered sugar and vanilla extract and mix until fully incorporated.
The mixture should become silky and free of lumps before moving to the next step.
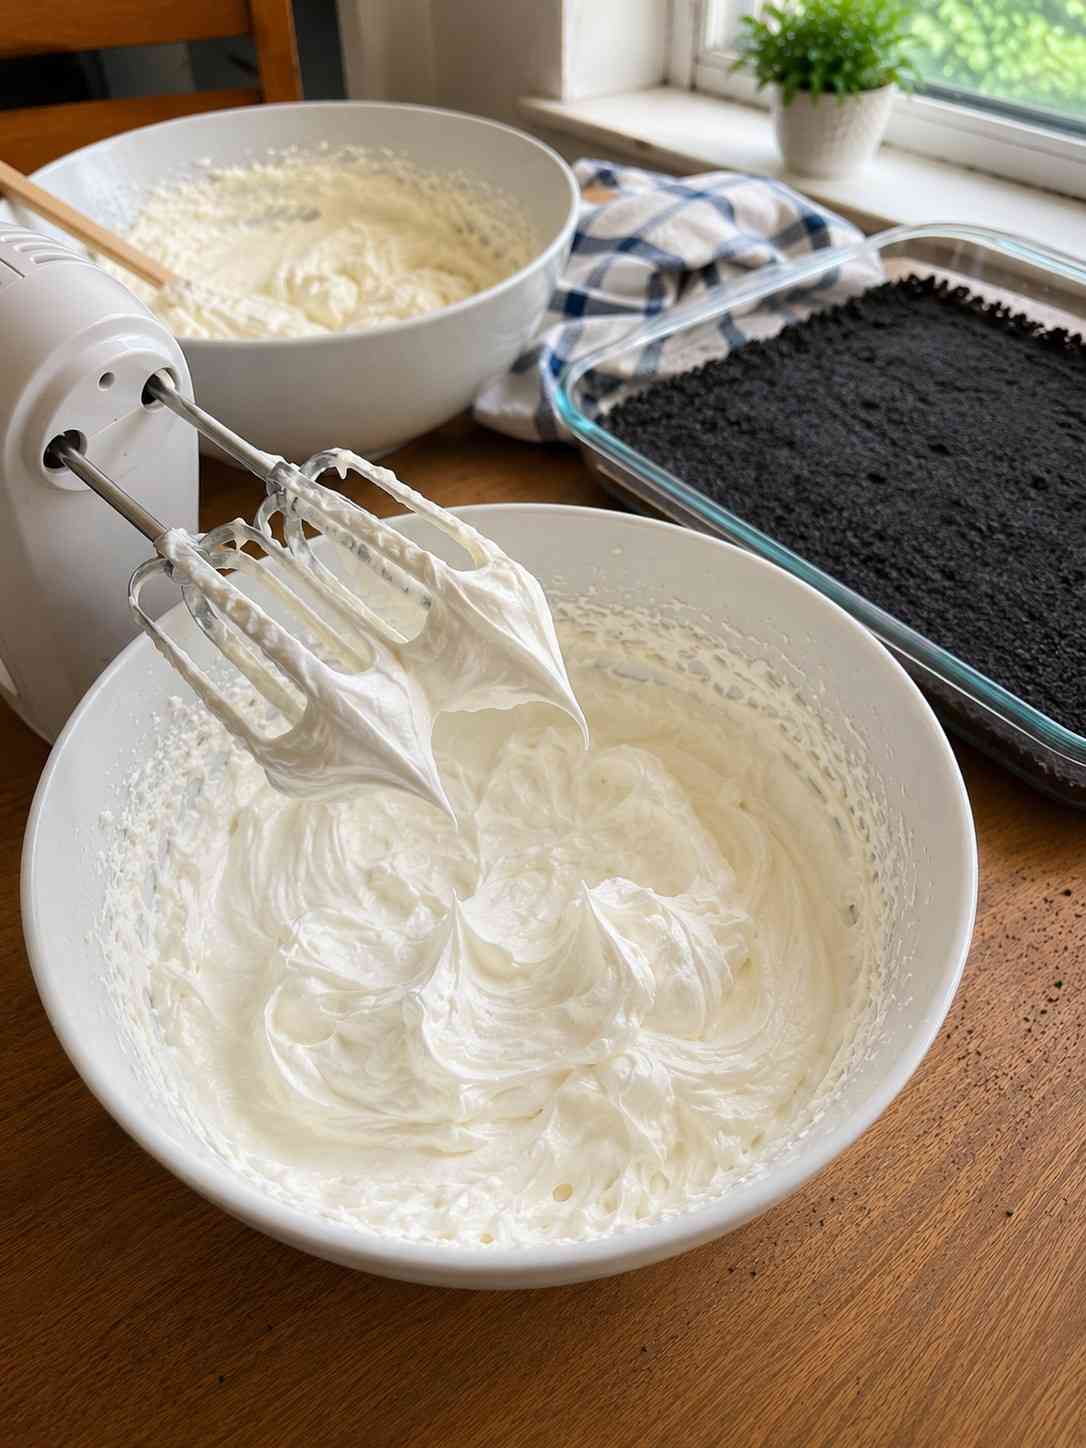
Step 4: Whip the cream
In a separate bowl, whip the heavy cream until stiff peaks form. Avoid overwhipping, as the cream can become grainy and lose its smooth texture.
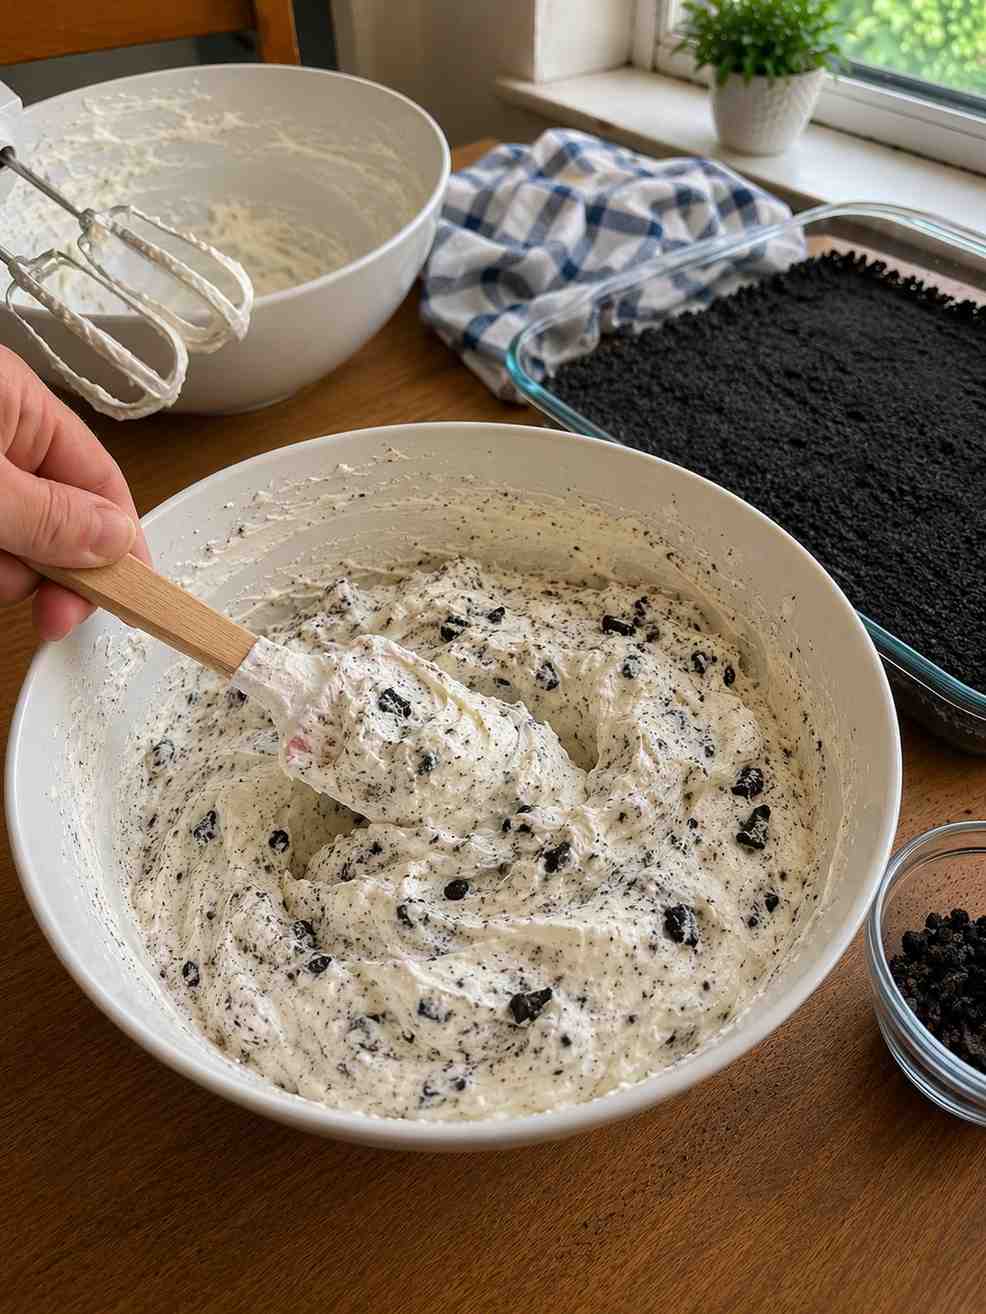
Step 5: Fold everything together
Gently fold the whipped cream into the cream cheese mixture using a spatula, then add the crushed Oreo cookies and continue folding until evenly distributed.
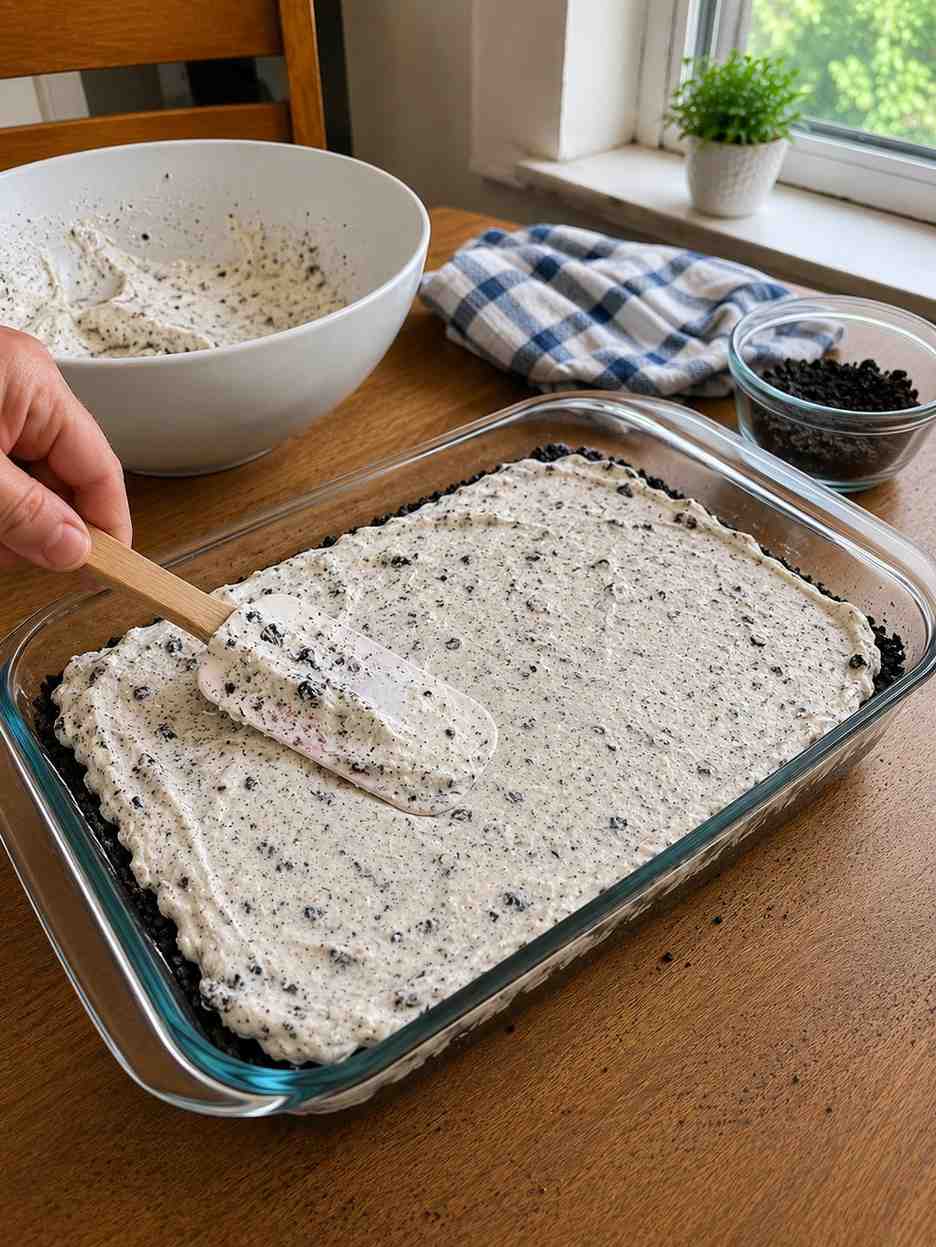
The filling should appear light, fluffy, and packed with Oreo pieces throughout.
Step 6: Assemble the cake
Remove the chilled Oreo base from the refrigerator and spread the Oreo cream filling evenly across it using a spatula, smoothing the surface for a clean, professional finish.
Step 7: Prepare the chocolate topping
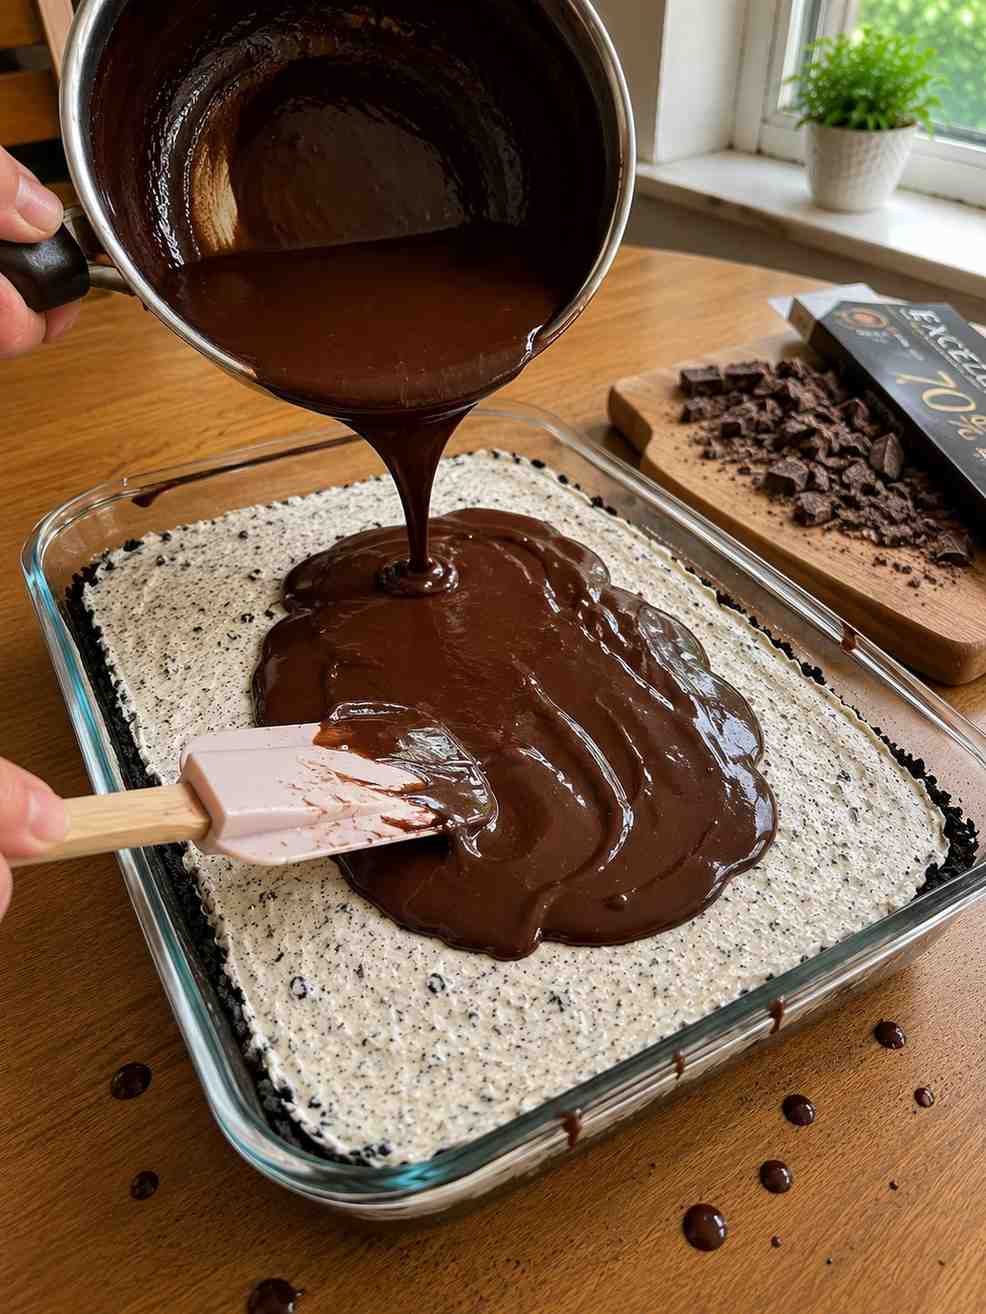
Heat the heavy cream until hot but not boiling, then pour it over the chopped chocolate and let sit for one minute. Stir slowly until a glossy ganache forms.
Pour the ganache over the cream layer and spread evenly across the surface.
Chill and decorate
Transfer the cake to the refrigerator and chill for at least six hours, preferably overnight. The longer the cake chills, the cleaner the slices will look when served.
Before serving, decorate with Oreo crumbs, cookie halves, chocolate curls, or whipped cream.
Storage and freezing guidelines
Because this dessert contains dairy-based ingredients, it should always be stored covered in the refrigerator, tightly wrapped or in an airtight container.
| Storage Type | Duration / Status |
|---|---|
| ❄️ Refrigerator | 5 Days |
| 🧊 Freezer Friendly | 2 Months |
| ✅ Make-Ahead Dish | Excellent |
To freeze, wrap individual slices tightly in plastic wrap. Thaw in the refrigerator overnight before enjoying.
Nutrition information (per slice)
| Nutrient | Value |
|---|---|
| 🔥 Calories | 520 |
| 🍪 Carbs | 47g |
| 🥛 Protein | 7g |
| 🧈 Fat | 34g |
| 🍬 Sugar | 31g |
| 🧂 Sodium | 290mg |
Frequently asked questions
Do I need to bake the crust?
No. This recipe is completely no-bake, making it simple and beginner-friendly.
Can I use Golden Oreos?
Yes. Golden Oreos create a delicious vanilla-flavored version of this dessert.
Can I freeze Oreo Fantasy Cake?
Yes. The cake freezes surprisingly well and can be stored for up to two months.
How long should the cake chill?
At least six hours, although overnight chilling produces the best texture.
Can I make individual portions?
Absolutely. The filling works perfectly in dessert cups, jars, or mini cheesecake molds.
Can I add extra chocolate?
Of course. Chocolate chips, chocolate curls, or additional ganache make excellent additions.