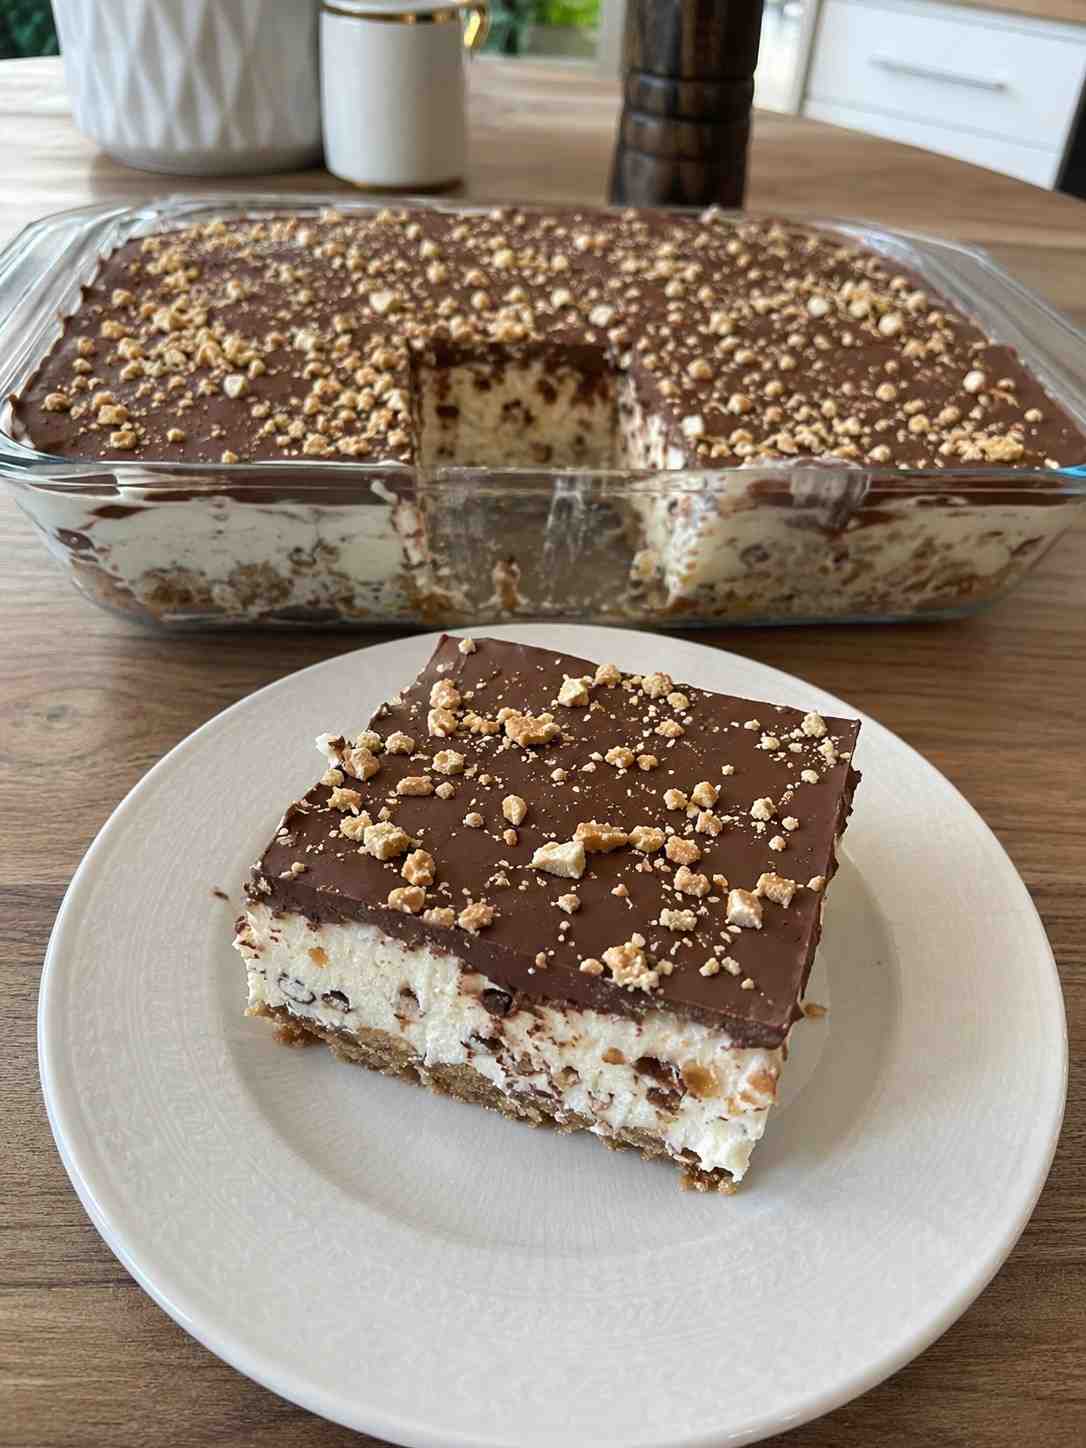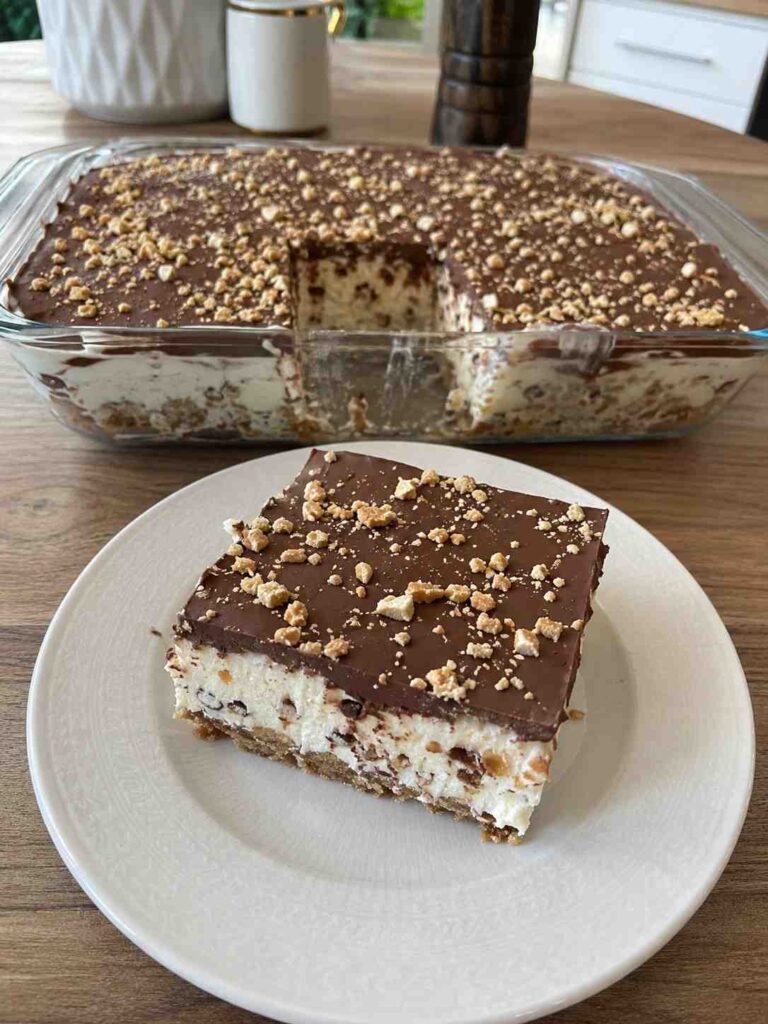
Costco Waffle Cone Bar Cake
Silky cream filling, crunchy waffle cone pieces and a glossy chocolate layer — no oven required. A copycat of the frozen bakery favorite, made completely in your own kitchen.
If you love Costco’s famous frozen desserts, this Costco Waffle Cone Bar Cake recipe brings that same creamy, crunchy, chocolate-loaded experience straight into your kitchen. Every slice delivers silky filling, rich chocolate, and irresistible waffle cone crunch.
What makes this dessert special is the incredible contrast of textures. The creamy filling melts in your mouth, while the waffle cone pieces add the perfect crispy bite. At the same time, the chocolate layer brings everything together with deep, smooth richness.
Even better, this recipe requires no complicated baking skills. It’s simple enough for beginners, yet impressive enough to serve at birthdays, holidays, summer gatherings, or family celebrations.
Why this dessert is so popular
One of the biggest reasons people love this dessert is the texture combination. Every bite delivers creamy softness, chocolate richness, and satisfying crunch.
Additionally, the no-bake preparation makes this recipe convenient and beginner-friendly.
Most importantly, it tastes like a premium frozen dessert while using simple ingredients you can easily find.
Quick recipe info
| Detail | Value |
|---|---|
| ⏱️ Prep Time | 30 Min |
| ❄️ Chill Time | 5 Hours |
| 🍽️ Servings | 12 Slices |
| 👨🍳 Difficulty | Easy |
Ingredients you’ll need
For the base
- 250 g crushed graham crackers or cookies
- 100 g melted butter
For the cream filling
- 500 ml heavy cream
- 250 g cream cheese
- 120 g powdered sugar
- 1 tsp vanilla extract
- 150 g crushed waffle cone pieces
For the chocolate layer
- 200 g milk or dark chocolate
- 100 ml heavy cream
- Chocolate syrup (optional)
The full recipe
Here’s everything condensed into one printable card — check off ingredients as you prep, and follow the numbered steps as you build the layers.
Costco Waffle Cone Bar Cake
Serves 12 · Prep 30 min · Chill 5 hrs (overnight best)
Ingredients
Method
- Prepare the base. Mix crushed graham crackers with melted butter until evenly coated, like moist sand.
- Form the bottom layer. Press into a lined baking dish, firm and even, then chill while you make the filling.
- Make the cream filling. Beat cream cheese, powdered sugar and vanilla until smooth and lump-free.
- Whip the cream. In a separate chilled bowl, whip heavy cream to soft peaks.
- Fold together. Gently fold the whipped cream into the cream cheese mixture, then fold in the crushed waffle cone pieces.
- Assemble. Spread the filling evenly over the chilled base.
- Make the ganache. Warm the cream, pour over chopped chocolate, let sit one minute, then stir smooth.
- Add the chocolate layer. Pour the ganache over the filling and spread evenly; top with extra waffle cone pieces if desired.
- Chill until firm. Refrigerate at least 5 hours, ideally overnight.
- Slice and serve. Cut into clean squares or bars, wiping the knife between slices, and serve chilled.
Step-by-step instructions
Step 1: Prepare the base
First, place the crushed graham crackers or cookies into a large mixing bowl.
Next, pour in the melted butter and mix thoroughly until all crumbs are evenly coated.
The texture should resemble moist sand and hold together when pressed between your fingers.
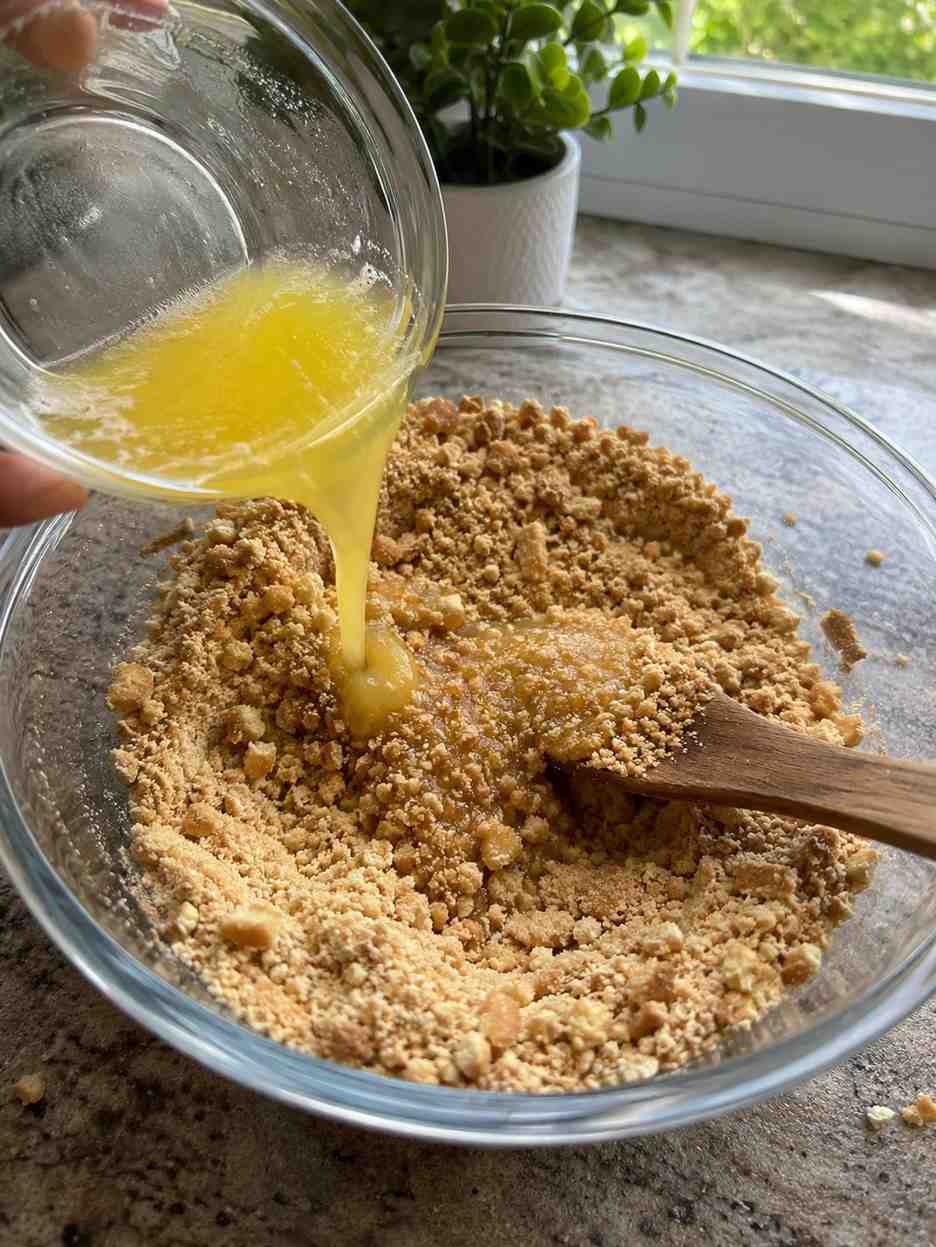 The crumb base should hold together when pressed.
Step 2: Form the bottom layer
Line a rectangular baking dish or cake pan with parchment paper for easier removal later.
Transfer the crumb mixture into the prepared dish.
Using the back of a spoon, spatula, or flat-bottomed glass, press the mixture down firmly until compact and even.
Afterward, place the base in the refrigerator while preparing the filling.
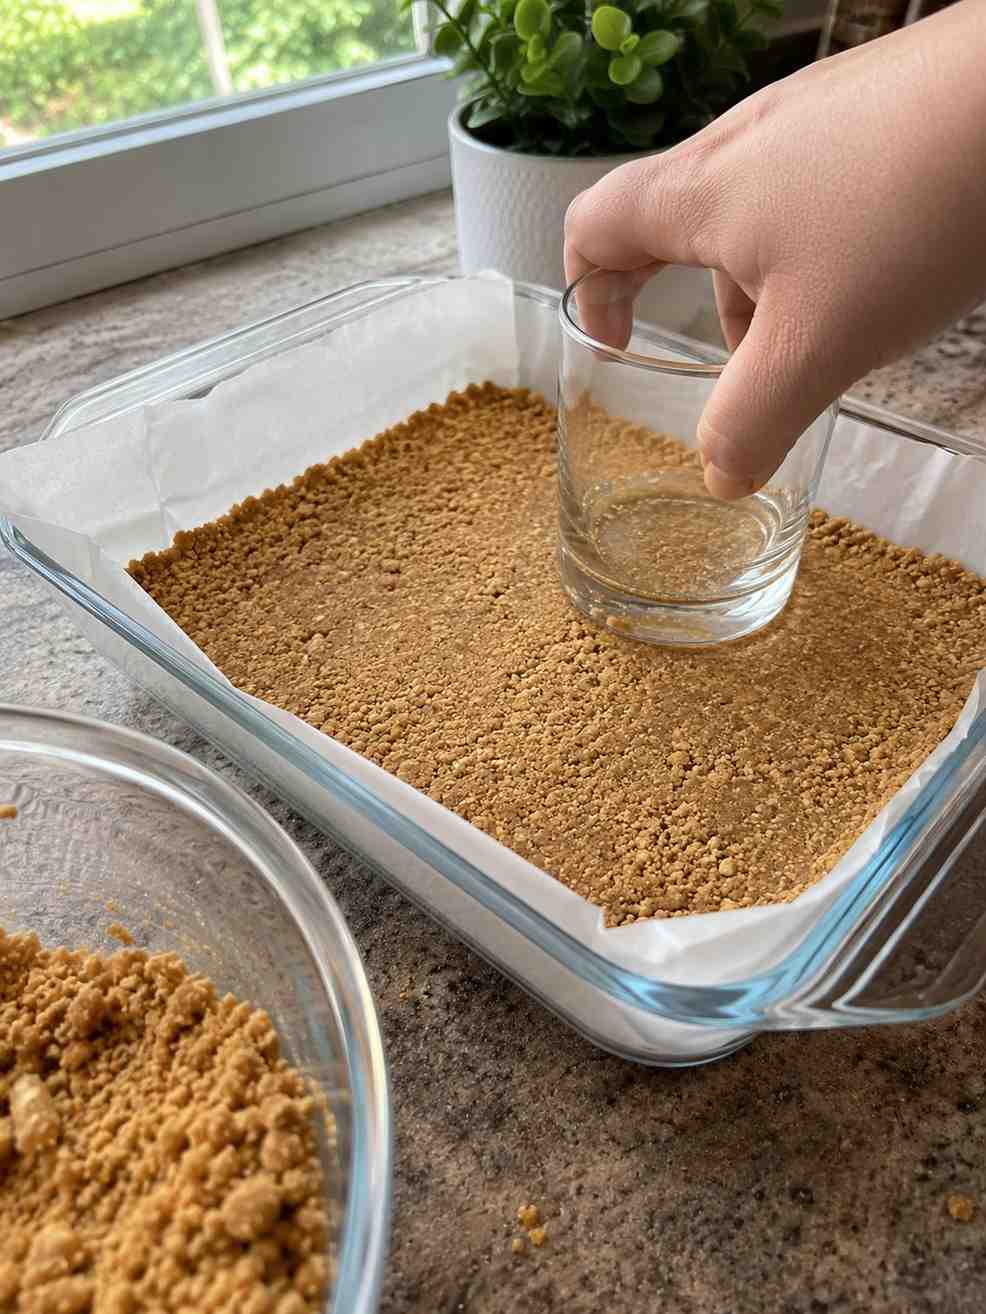 A firm, even base makes slicing much easier later.
Step 3: Prepare the cream filling
In a large mixing bowl, combine cream cheese, powdered sugar, and vanilla extract.
Beat until the mixture becomes smooth, creamy, and lump-free.
This creates the rich and silky foundation of the dessert.
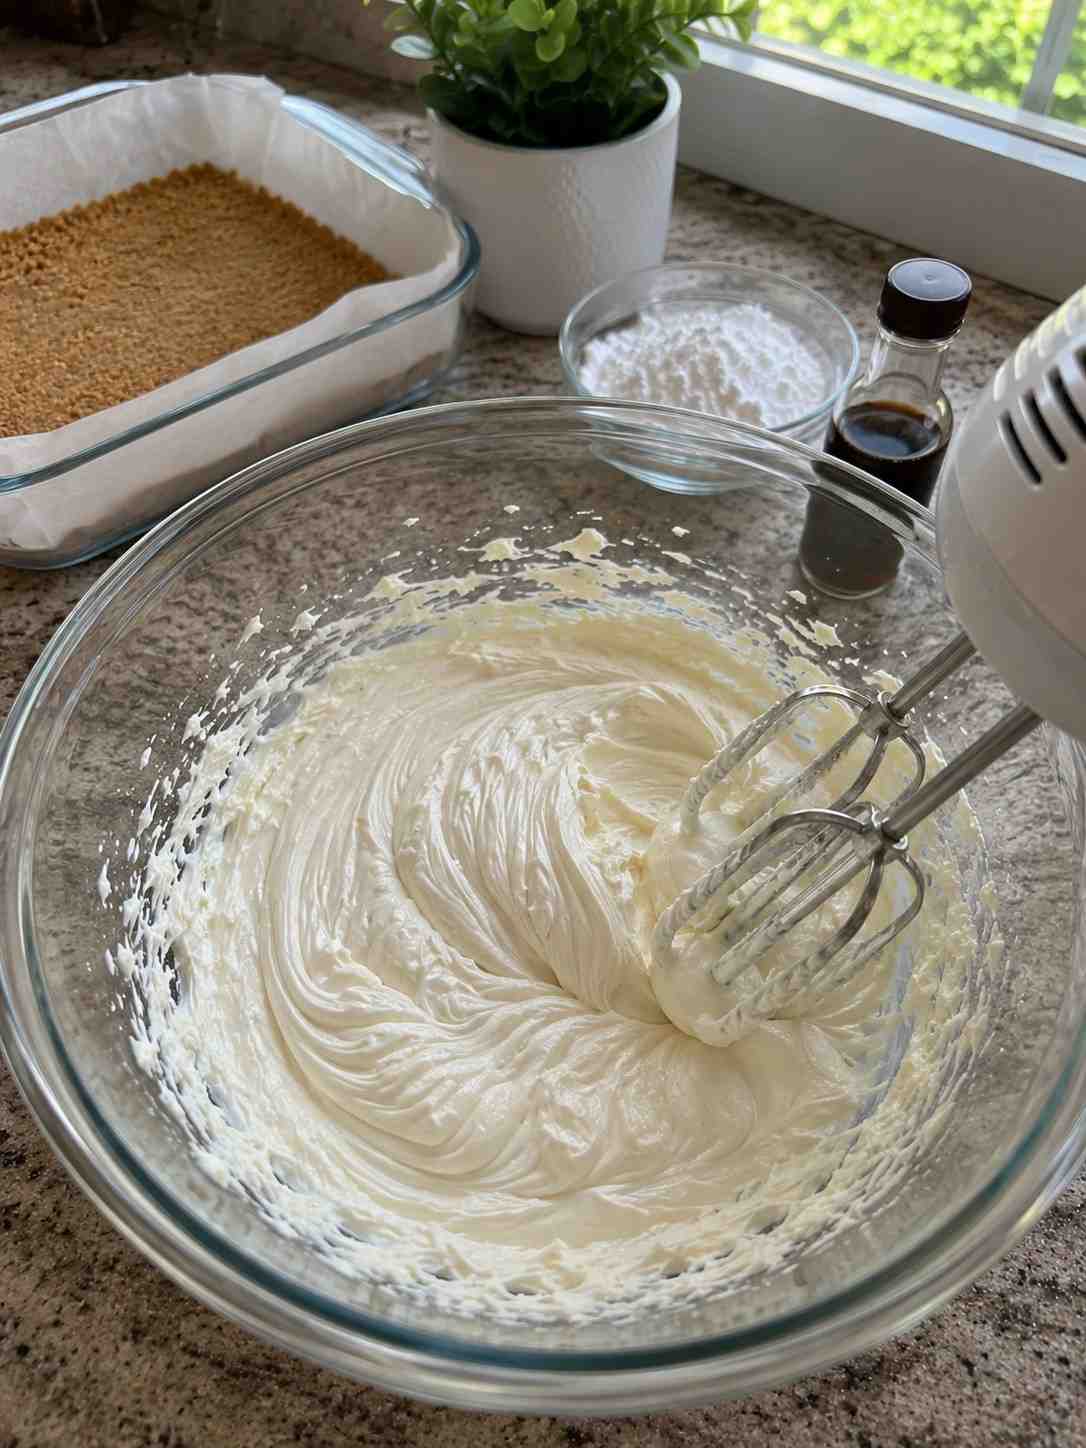 The filling should be completely smooth before moving on.
Step 4: Whip the cream
In a separate chilled bowl, beat the heavy cream until soft peaks form.
Be careful not to overwhip, as the cream can become grainy.
The whipped cream should look airy, smooth, and stable.
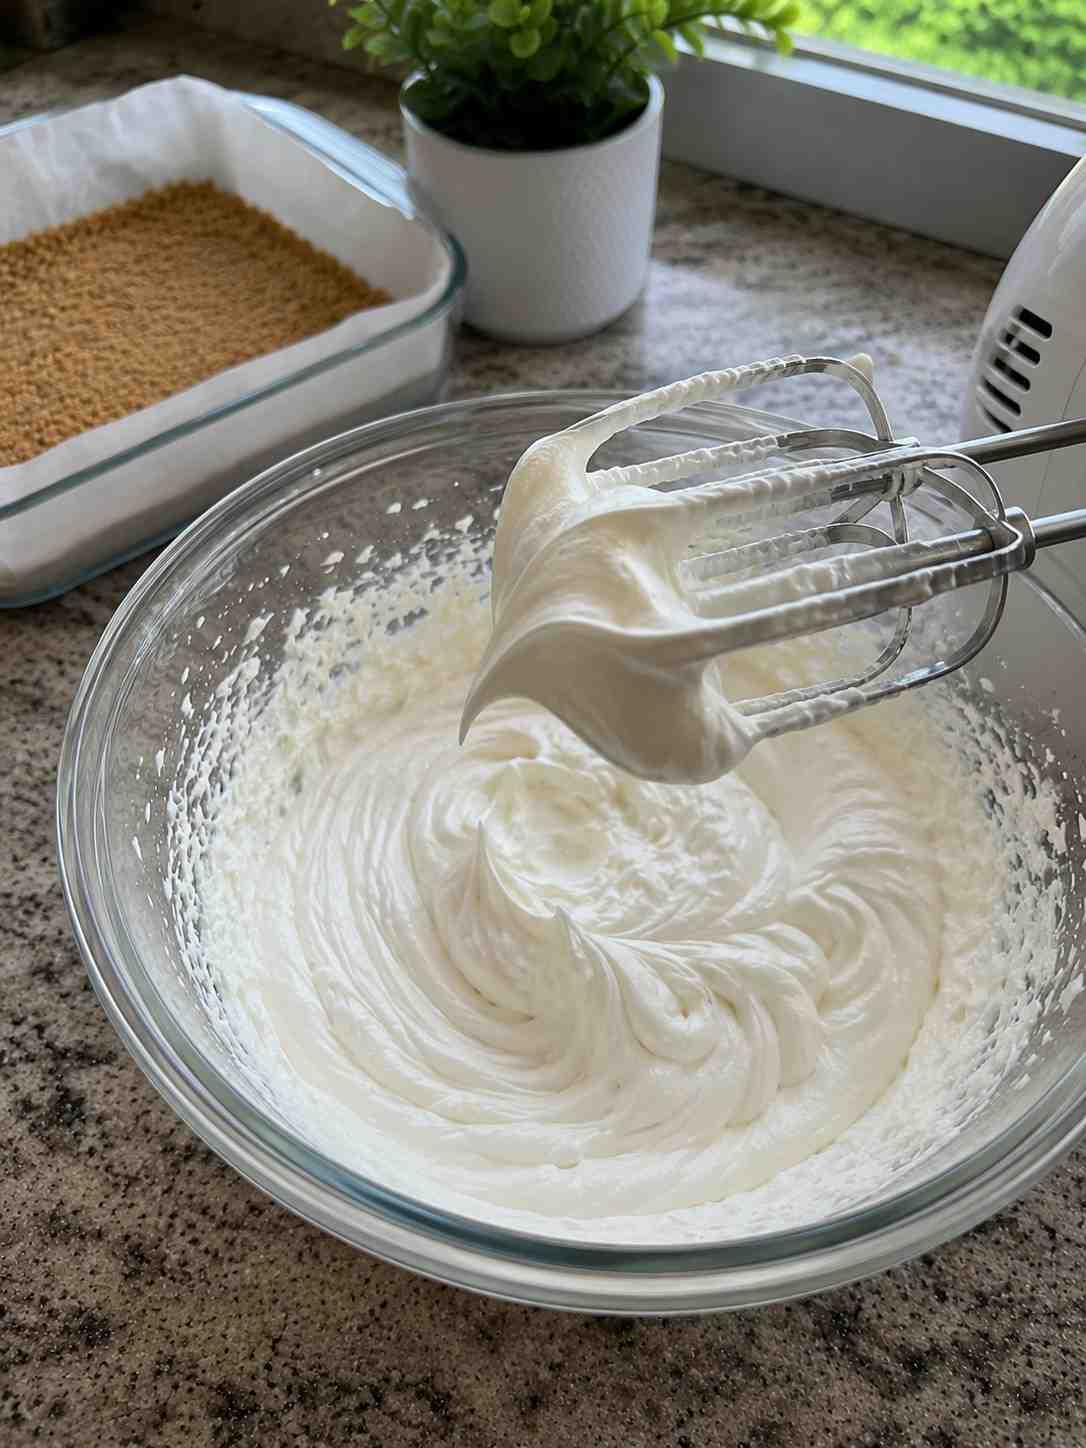 Soft peaks hold their shape without turning grainy.
Step 5: Fold everything together
Gently fold the whipped cream into the cream cheese mixture using a spatula.
Work slowly to preserve as much air as possible.
Once combined, fold in the crushed waffle cone pieces.
The filling should look fluffy, creamy, and packed with crunchy pieces throughout.
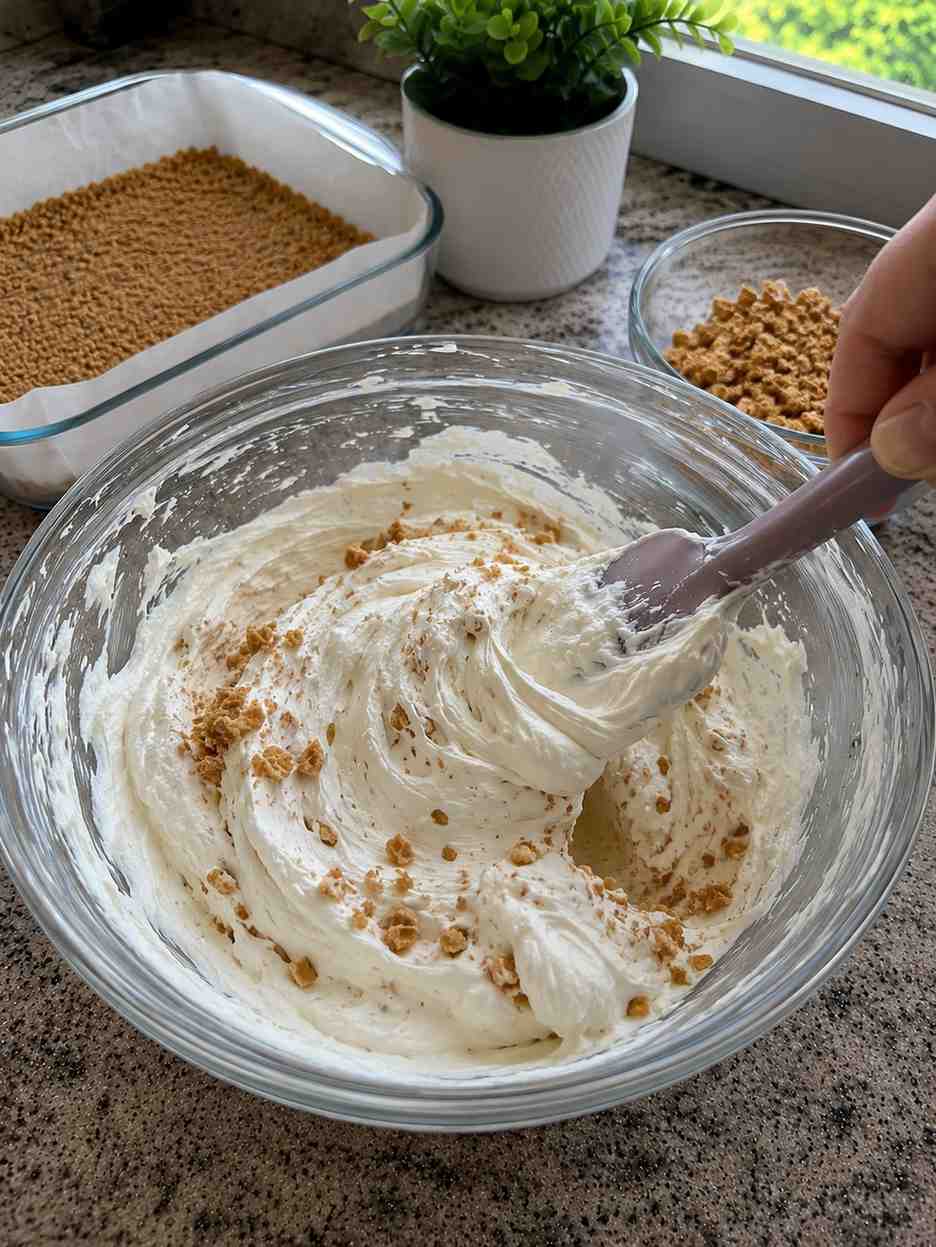 Fold gently so the filling stays light and airy.
Step 6: Assemble the cake
Remove the chilled base from the refrigerator.
Spread the waffle cone cream filling evenly across the base using a spatula.
Take your time to smooth the surface carefully for clean and even layers.
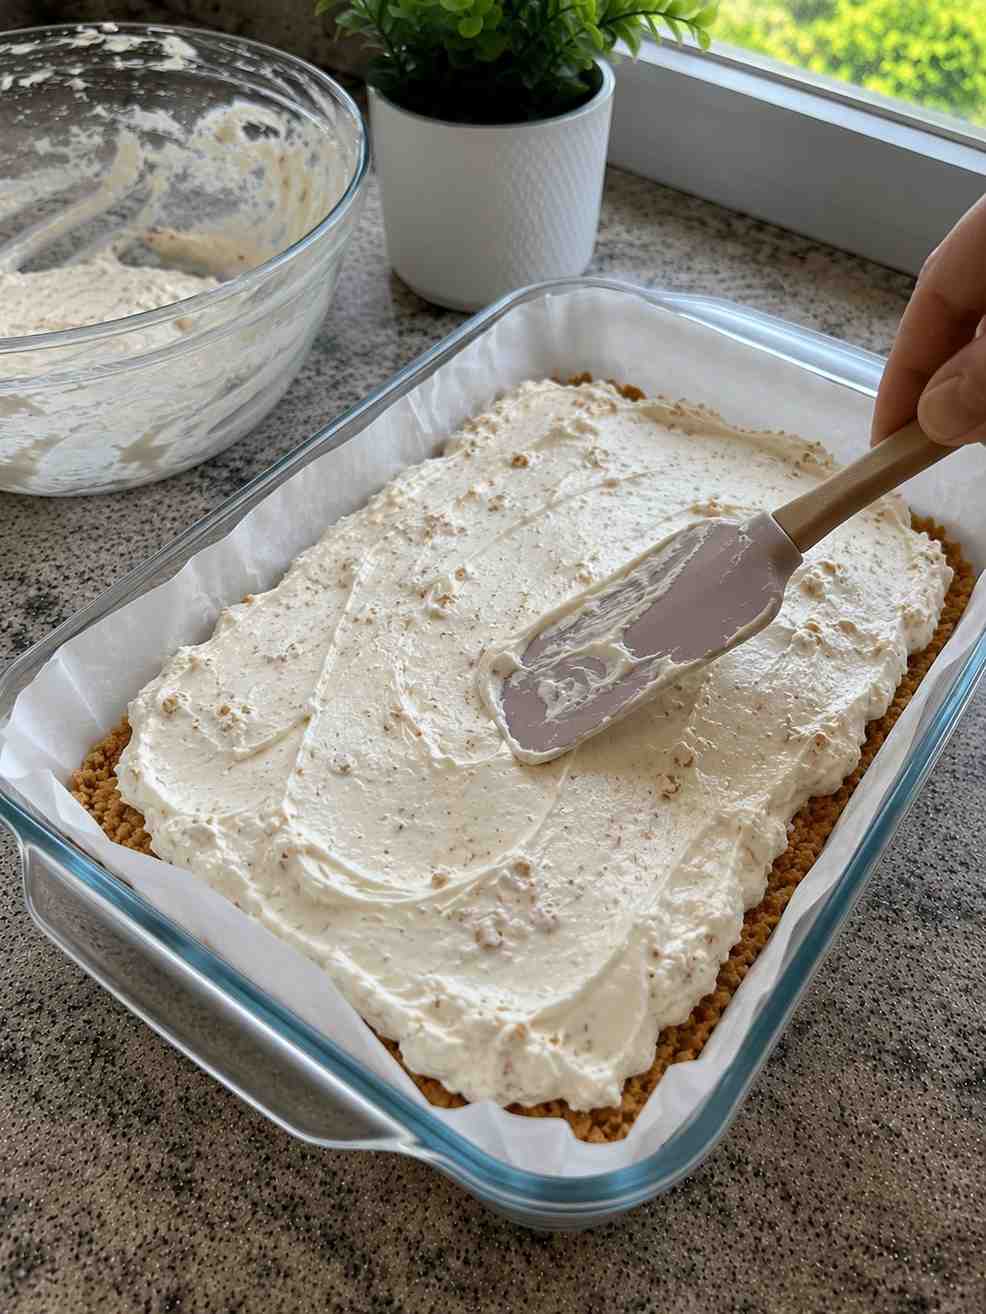 A smooth surface now means cleaner slices later.
Step 7: Prepare the chocolate topping
Meanwhile, heat the heavy cream until warm but not boiling.
Pour it over the chopped chocolate and let it sit undisturbed for one minute.
Then, stir slowly until a smooth and glossy chocolate ganache forms.
If desired, add a small drizzle of chocolate syrup for extra richness.
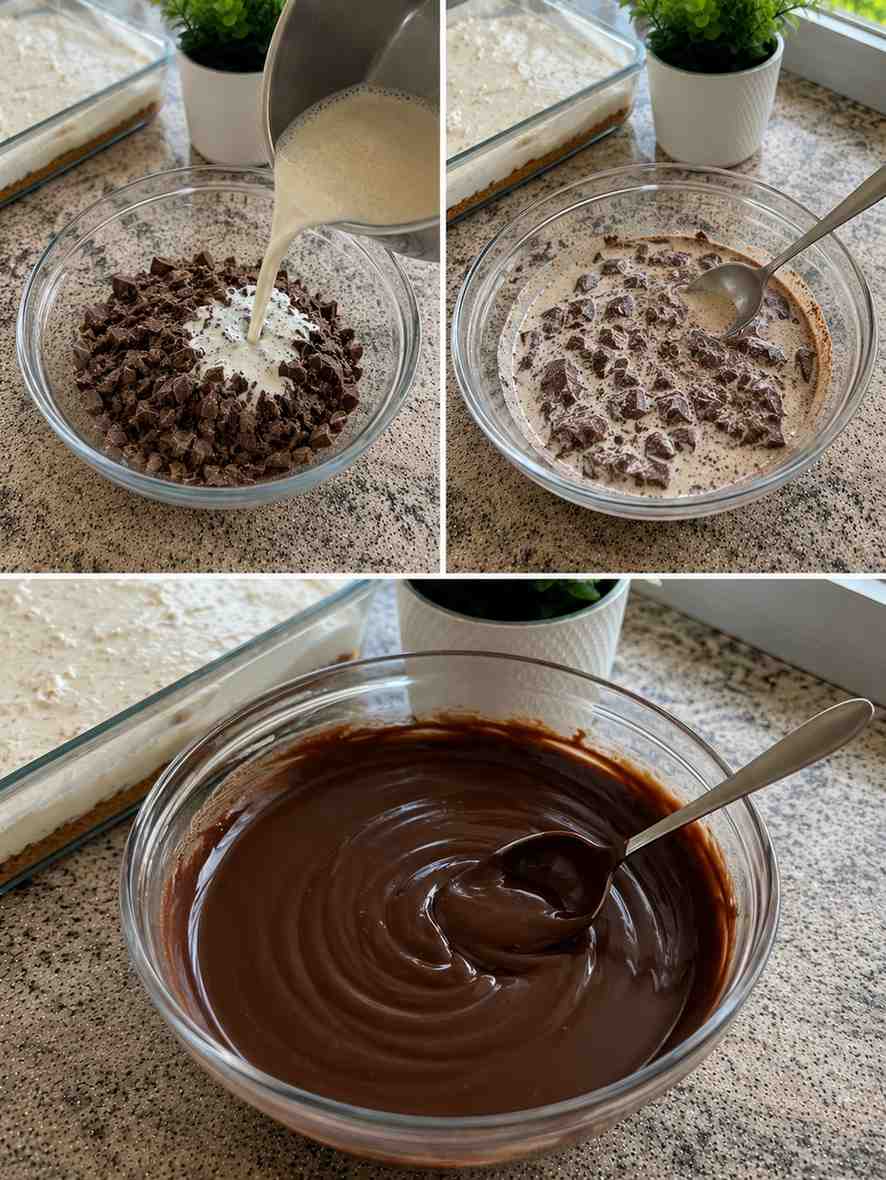 The ganache should look glossy and pour smoothly.
Step 8: Add the final chocolate layer
Pour the ganache evenly over the cream filling.
Use a spatula to spread it smoothly across the entire surface.
For extra crunch, sprinkle additional crushed waffle cone pieces on top.
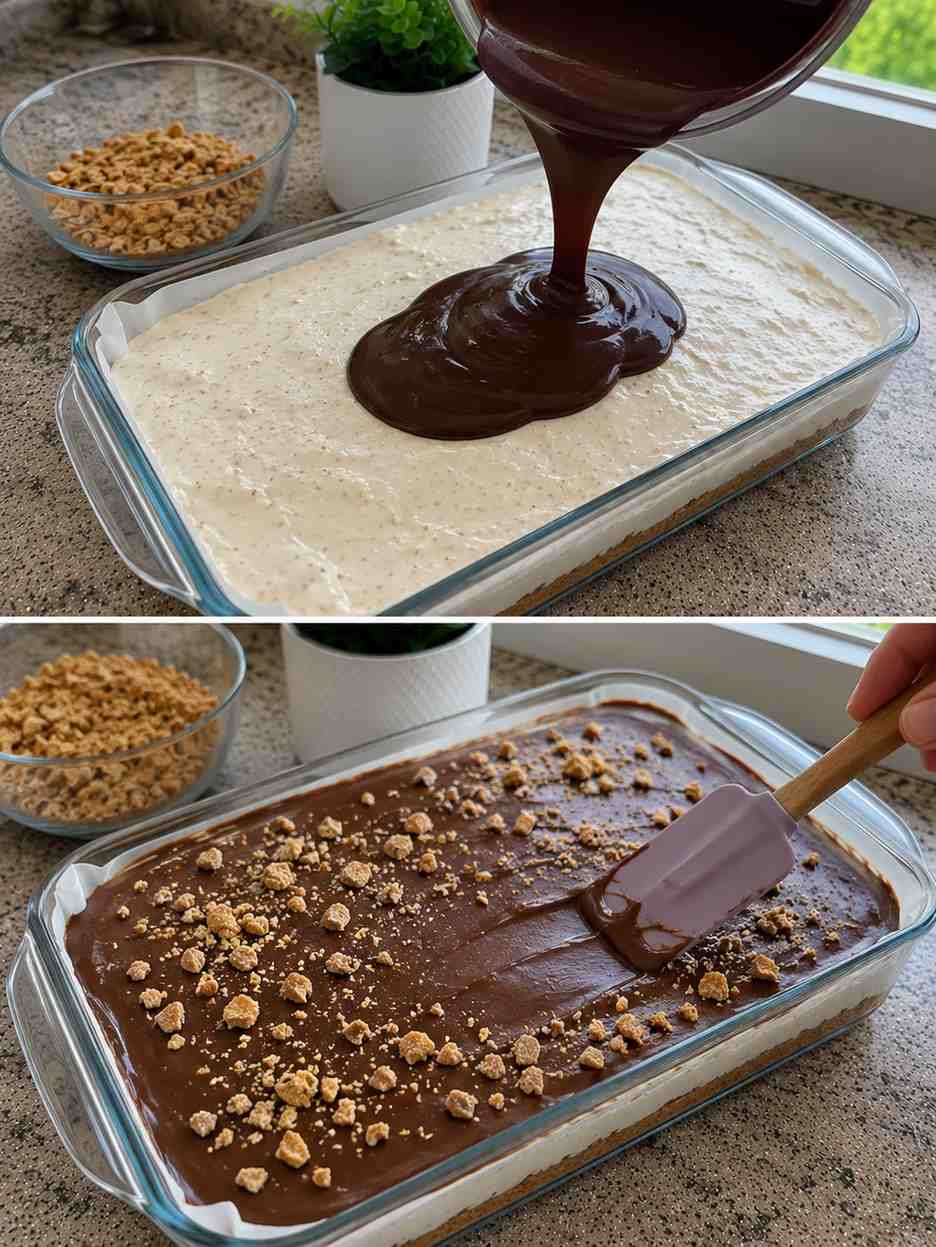 An even ganache layer sets the cake’s glossy top.
Step 9: Chill until firm
Transfer the cake to the refrigerator for at least 5 hours.
For best results, chilling overnight is strongly recommended.
This resting time helps all layers firm up properly and improves slicing.
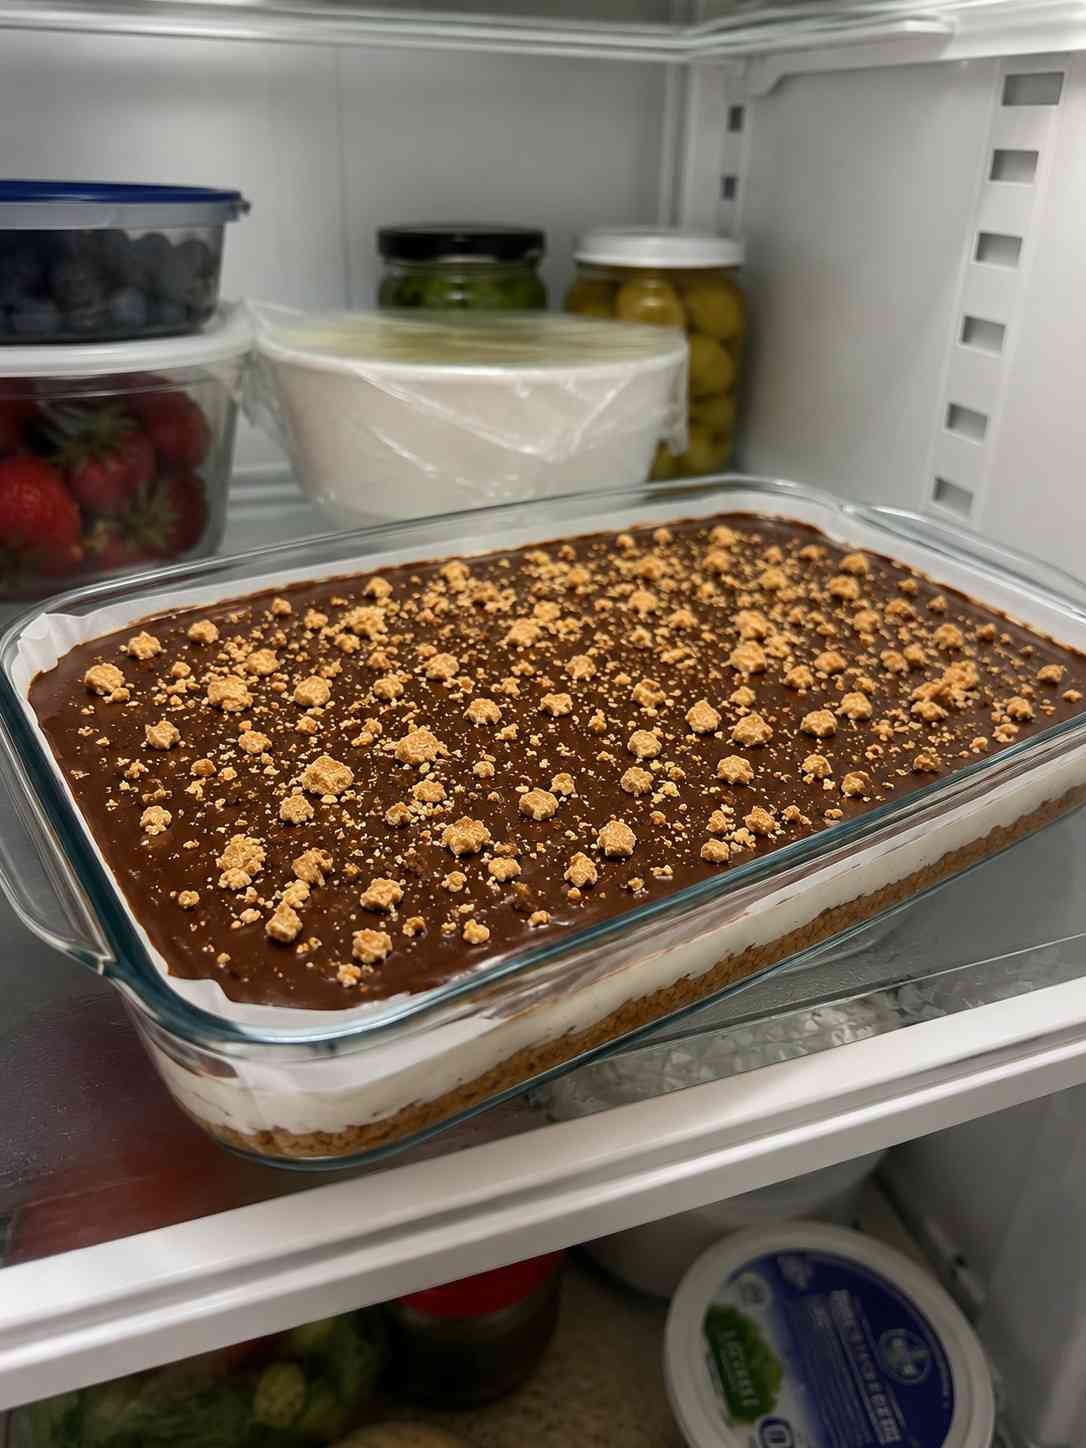 Patience here is what makes the slices hold together.
Step 10: Slice and serve
Once fully chilled, remove the cake and slice into clean squares or bars.
For cleaner cuts, wipe the knife between each slice.
Serve chilled for the best texture and flavor.
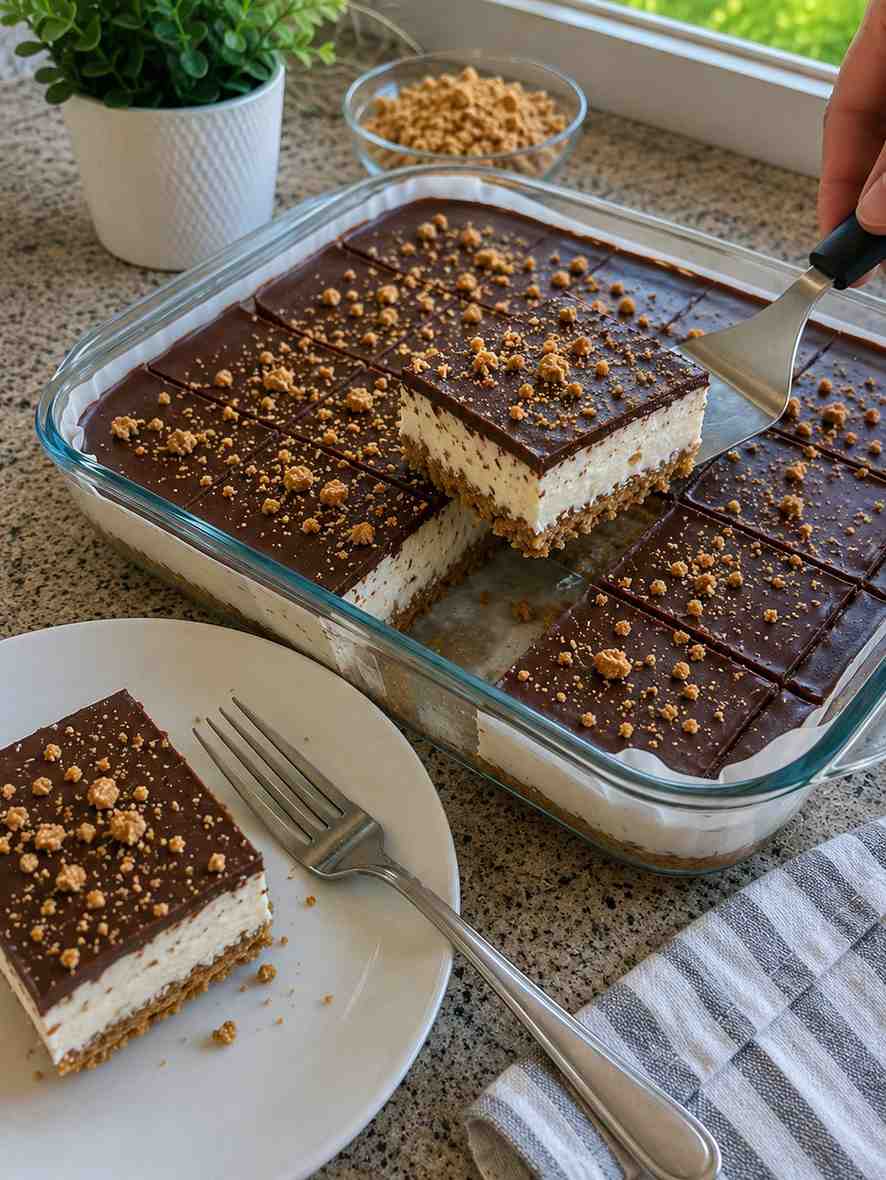 Each slice should show clean, distinct layers.
Expert tips for best results
First, avoid crushing all waffle cone pieces too finely because larger pieces create better crunch.
Additionally, use full-fat cream cheese for the richest and creamiest filling.
Most importantly, allow enough chilling time because this dessert slices much better when fully set.
Storage tips
Store the cake covered in the refrigerator for up to 4 days.
For longer storage, freeze individual slices for up to 1 month.
Allow frozen slices to thaw in the refrigerator before serving.
Frequently asked questions
Can I make this dessert ahead of time?
Yes. In fact, this dessert tastes even better after chilling overnight.
Can I use ice cream instead of cream filling?
Yes, although the texture will be different and more frozen-dessert-like.
Can I use dark chocolate instead of milk chocolate?
Absolutely. Dark chocolate creates a deeper and less sweet flavor profile.
Why everyone loves Costco Waffle Cone Bar Cake
People love this dessert because it combines creamy filling, crunchy waffle cone texture, and rich chocolate in one unforgettable bite.
Additionally, the no-bake preparation makes it convenient and beginner-friendly.
Most importantly, it delivers bakery-quality results with simple homemade preparation.